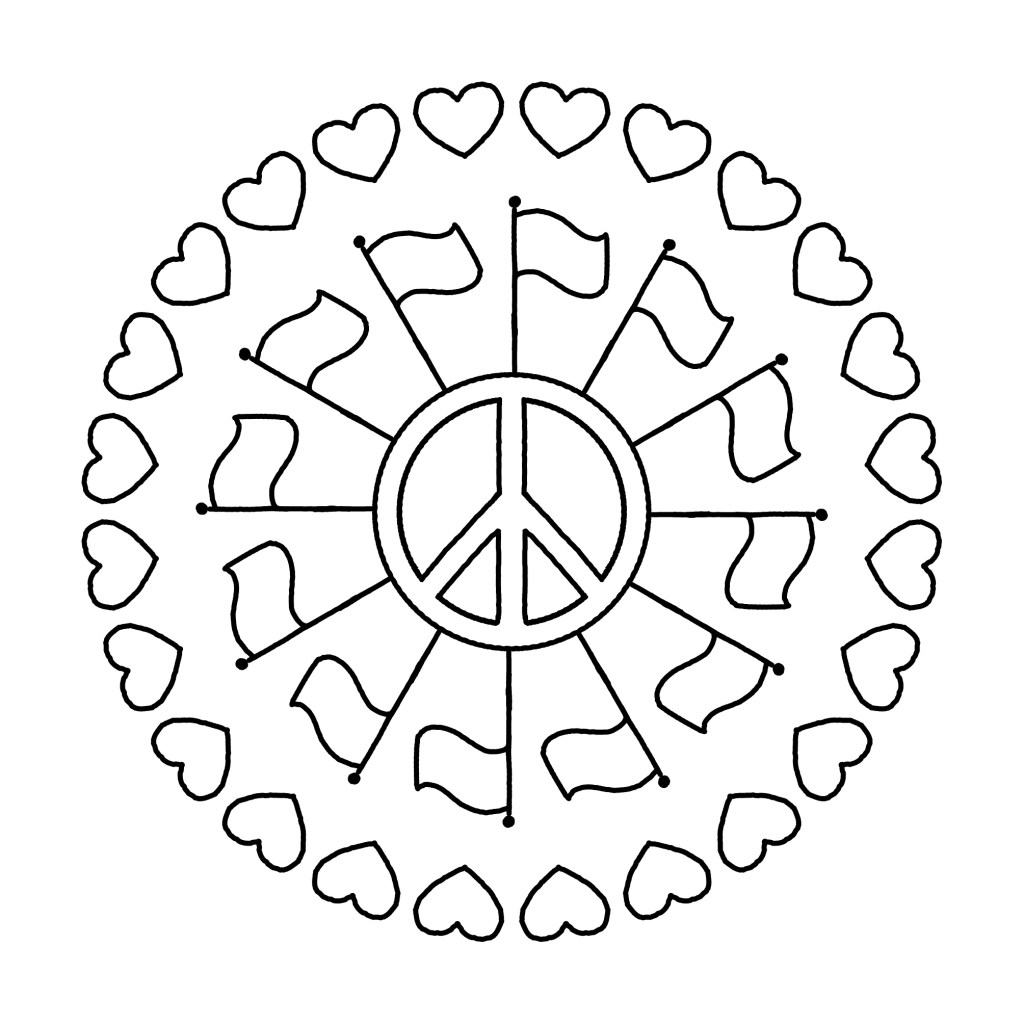
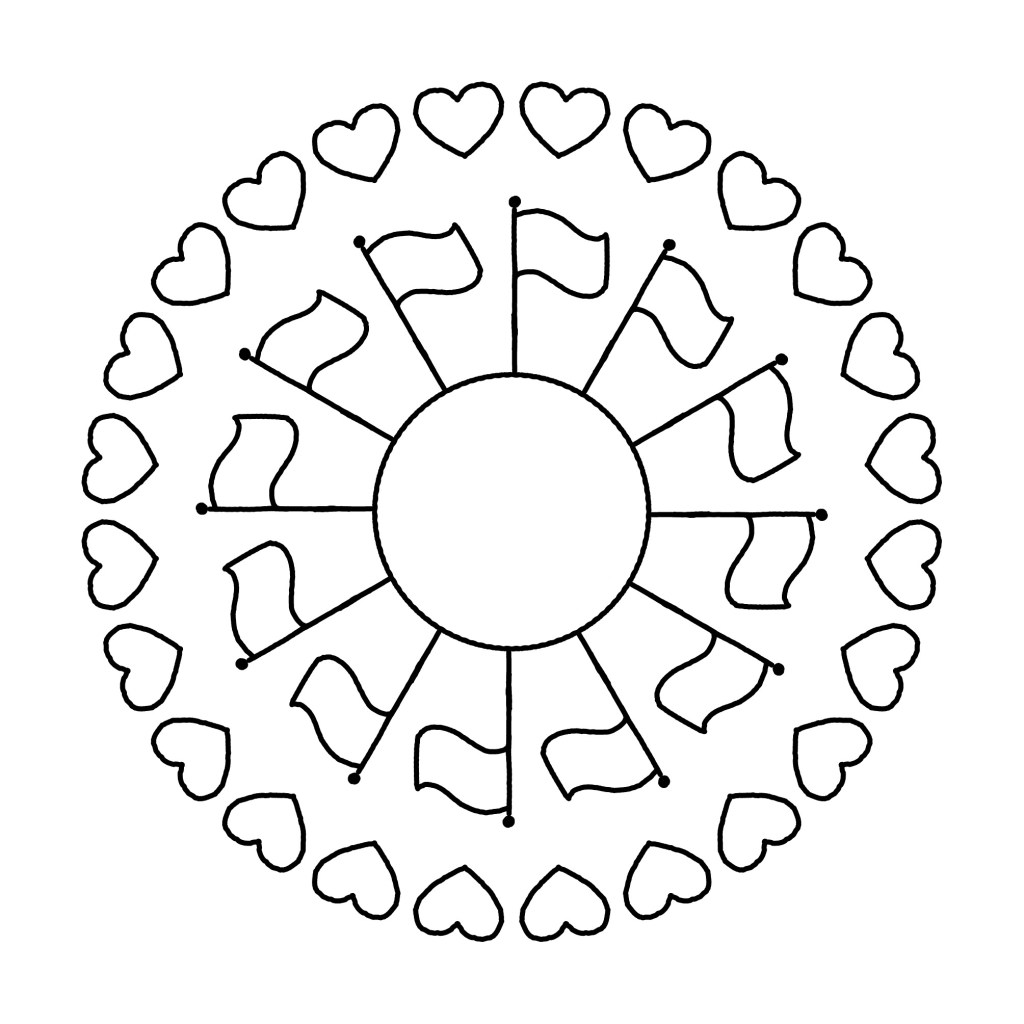
This coloring page was a special request from my mom, who gave me the idea for the little blank flags. I went with something super simple and open-ended so it is very customizable! I am eternally grateful to have a mom who accepts me and wants to support me and my community.
My queer identity has a very long and complicated story behind it. Today I have settled with the labels of “nonbinary lesbian” but it’s still something I continue to question on a regular basis. Luckily I am happily partnered to the most wonderful woman in the world so I don’t really need to think so hard about it!
I hope June is kind to each and every one of you, see you in the next post!
While it might read like it is, this post is NOT sponsored. I’m just excited about this wonderful tool I recently started using and I want to share it with the world.
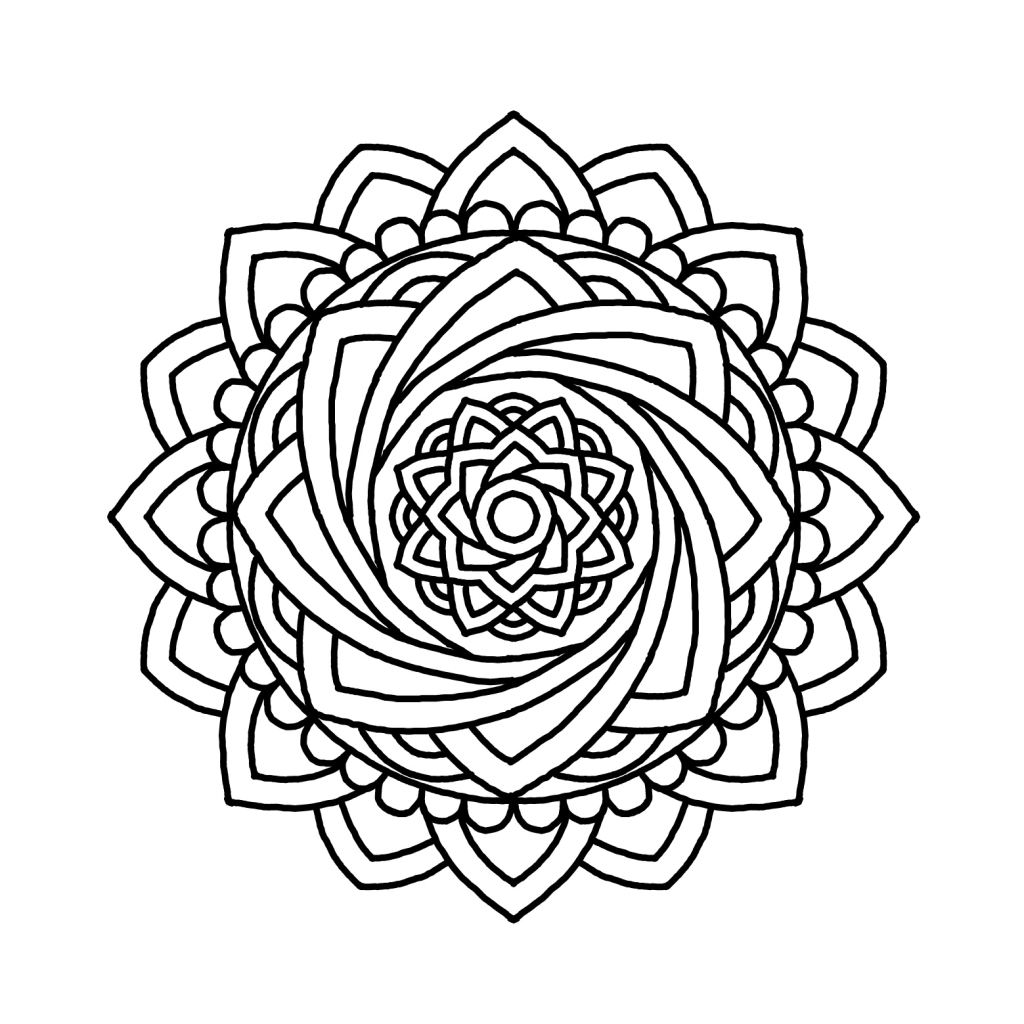
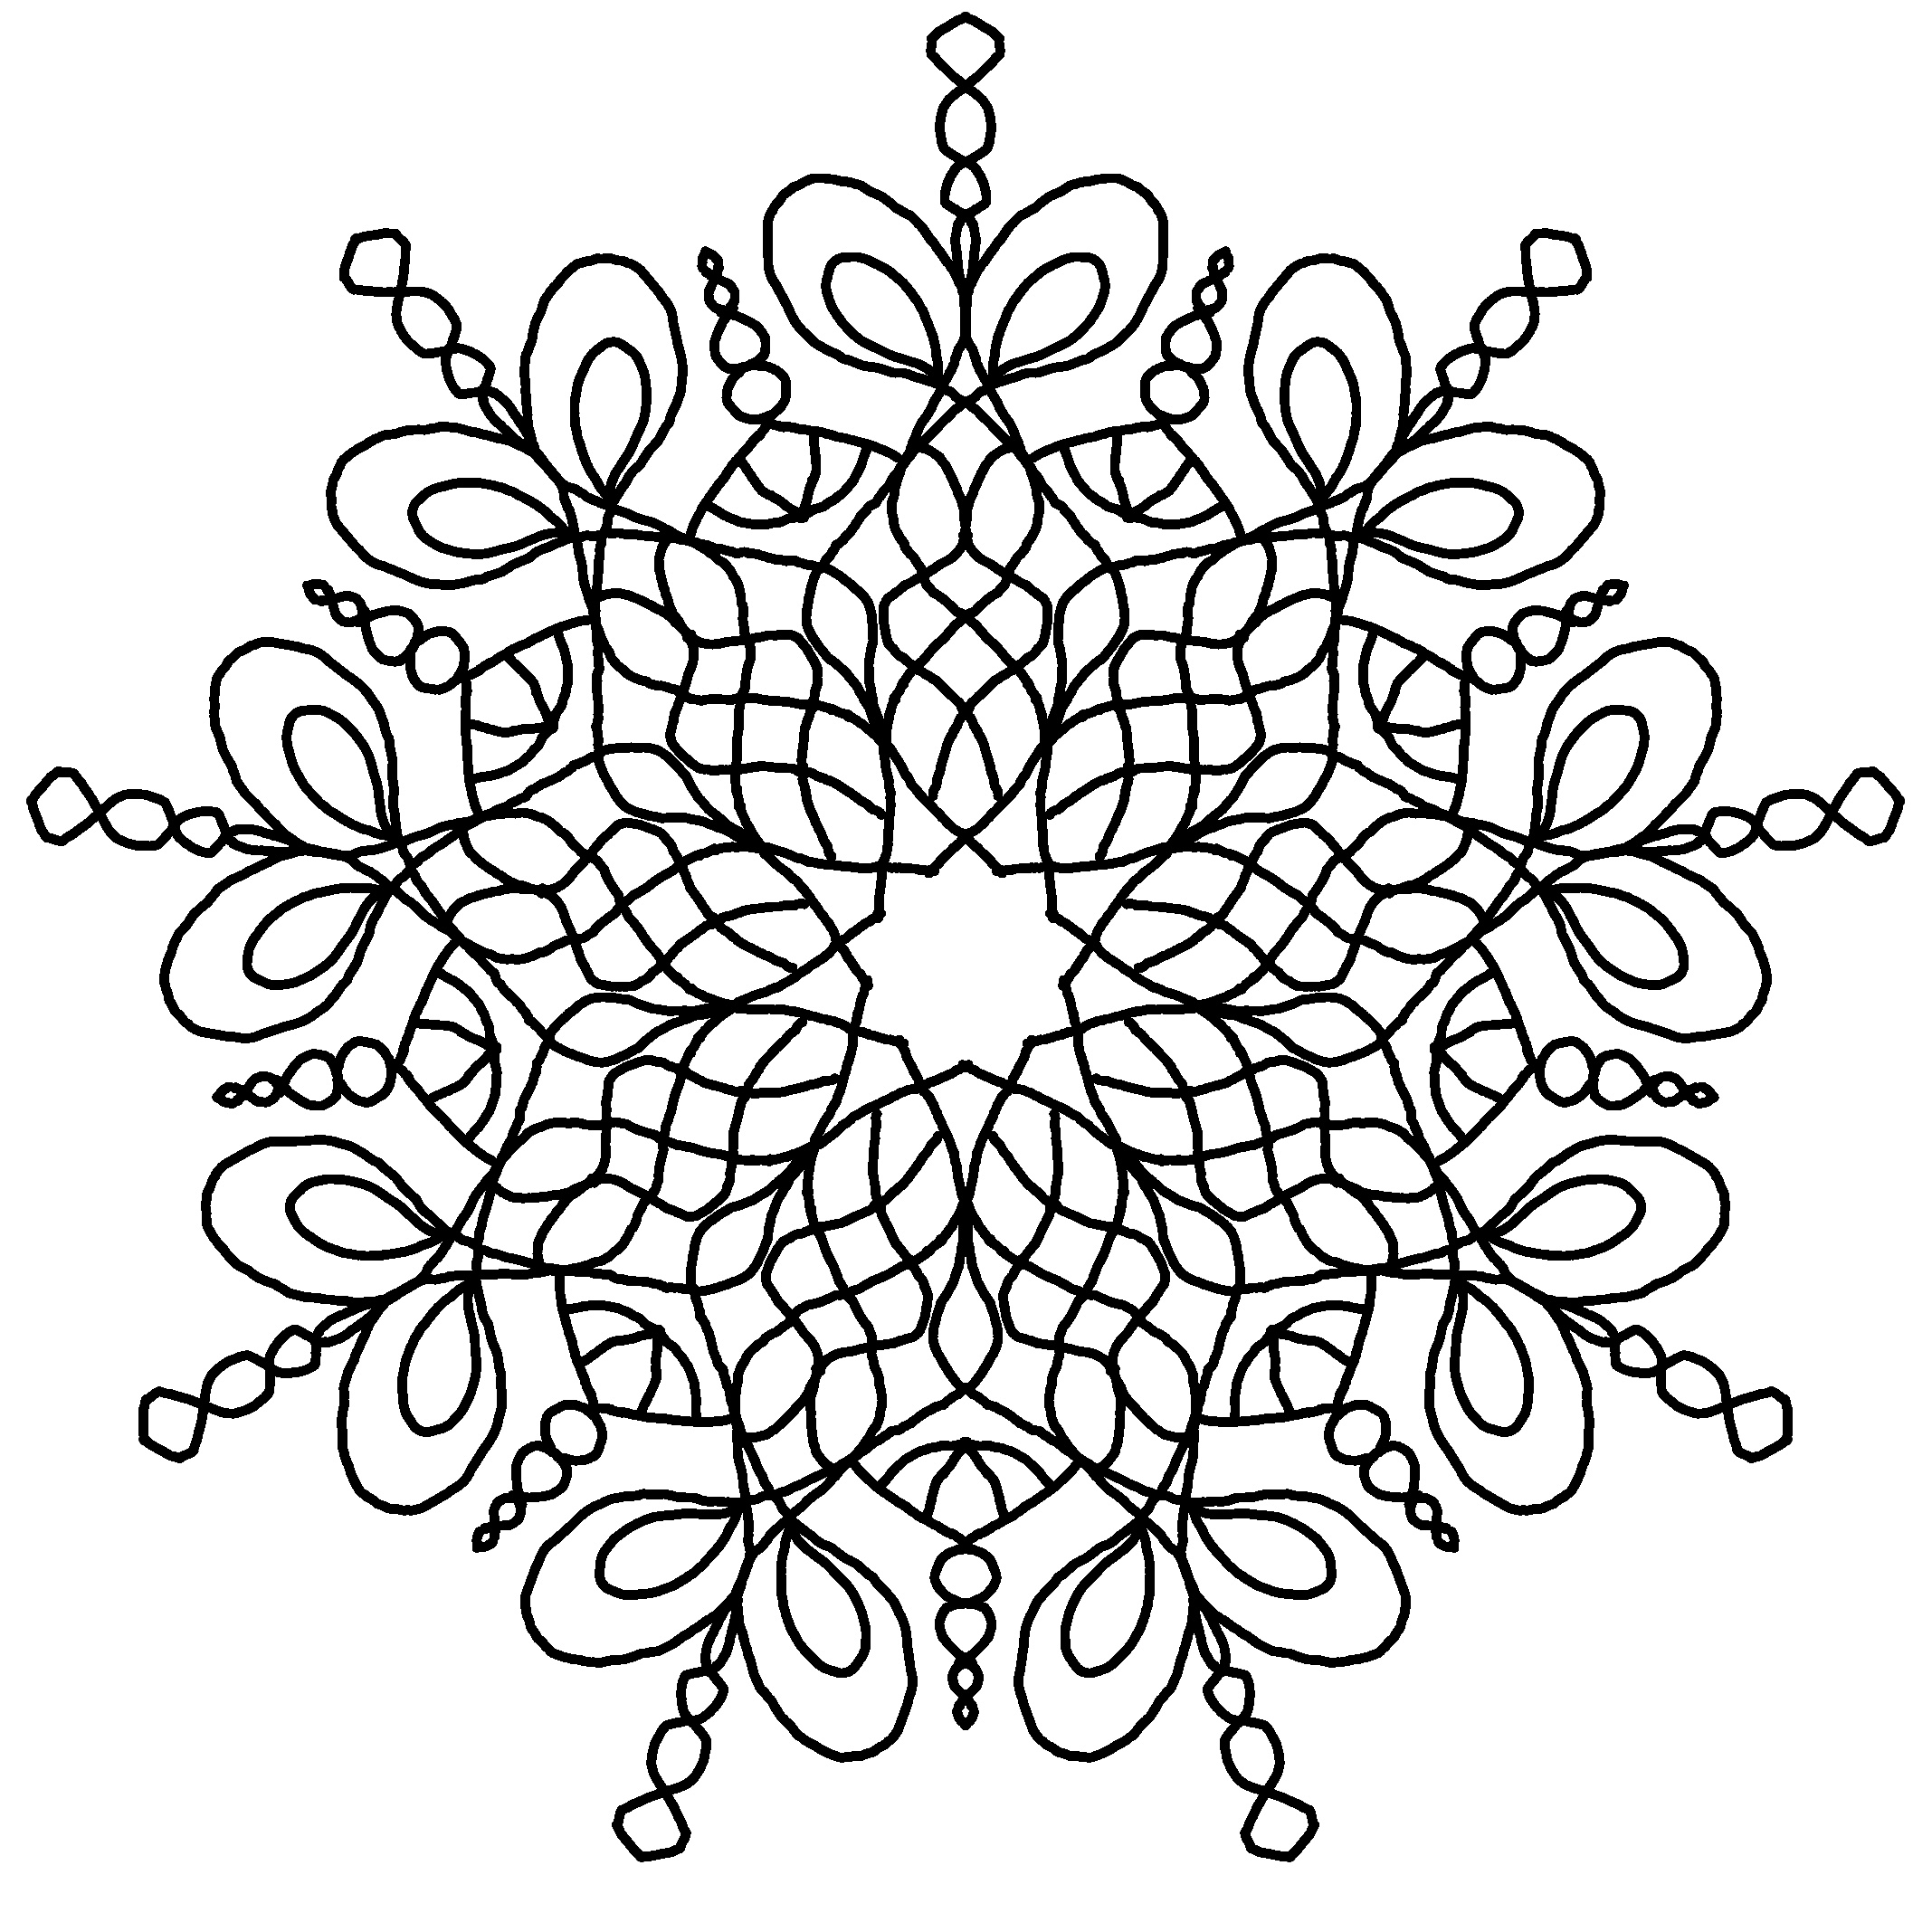
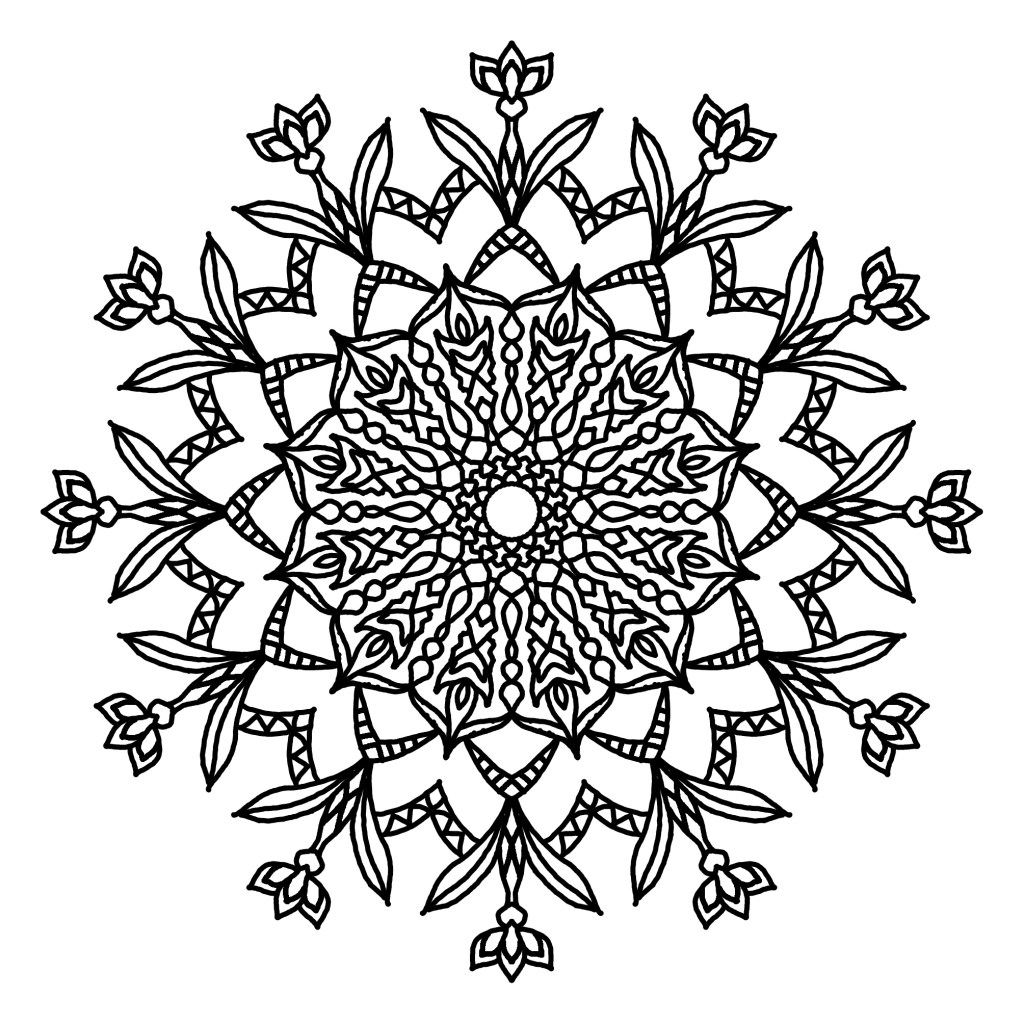
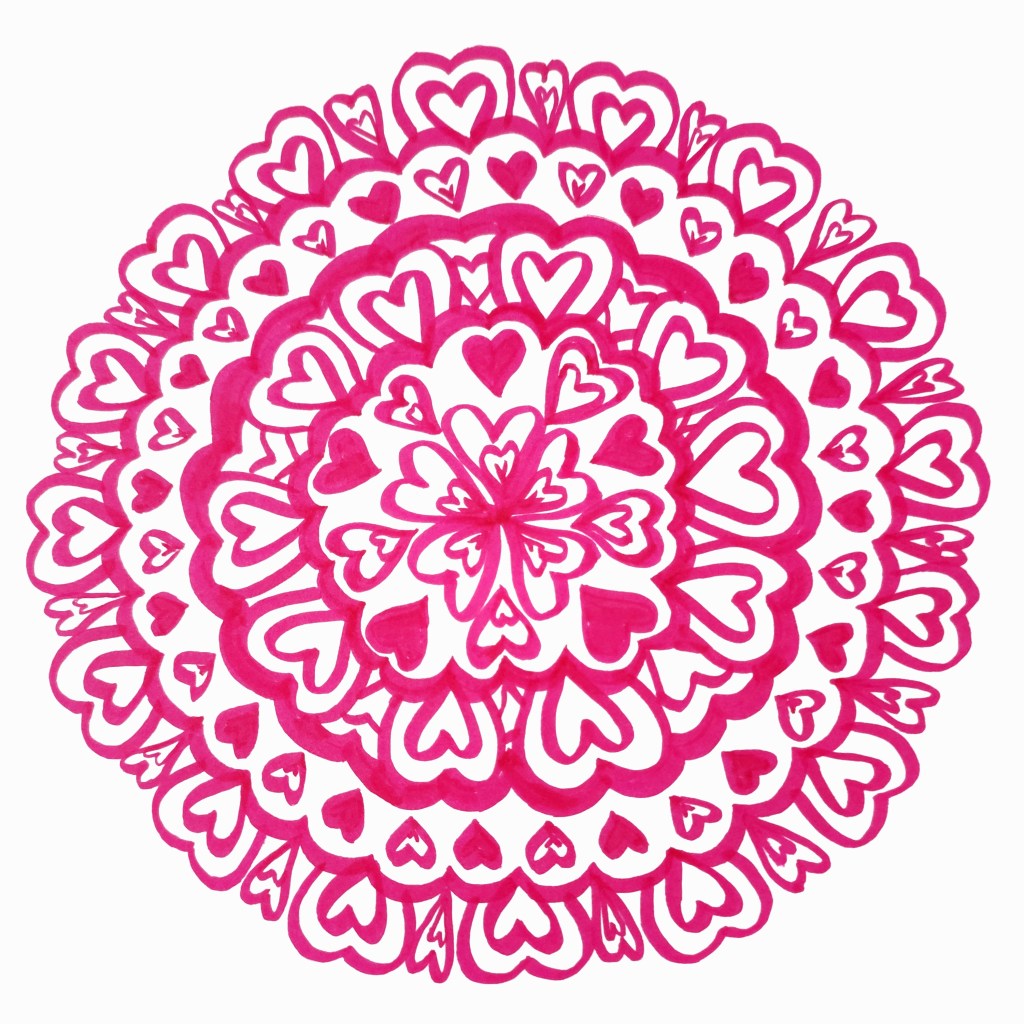
These 3 mandalas were made in the android app Mandoo. It is completely free, no ads or in-app purchases! I love this app so much. It’s rare to find good apps that are completely free, but when I do I am so incredibly grateful.
Mandoo lets anyone create a mandala, from absolute novices to experienced veterans. This is because you only have to draw one section of the mandala, the app will automatically copy the design around the facets for you.
This isn’t a new concept, Mandoo is only one of many apps that can do this, but I love Mandoo for being ad-free and very simple to use. Many mandala coloring pages you find in coloring books are made this way with similar programs, and I can see why, It gives you perfect symmetry effortlessly and it saves loads of time!
If you’ve been around here long enough you should have gathered by now that I am a fan of “easy” art that is accessible to all skill levels. I am very much not someone who argues about what is or isn’t real art, I find that all to be overly pretentious and unnecessary. My whole mission is to inspire ALL people to embrace their creative side, so there’s no room for that nonsense here!
What I started using this app for is jotting down ideas for traditional pieces later, as lately I found myself overusing certain motifs and I have grown bored of them. The possibilities are endless and I want to unlock more of those possibilities! Even just by scribbling at random I can find new shapes that inspire me and I can use them again later. I have found myself making finished pieces in this app more and more though, since I enjoy using it so much.
Nothing really beats the experience of drawing a mandala entirely by hand for me, the repetition is actually part I like most. But if you’re someone who looks at mandala art and thinks it’s not for you because it looks too tedious, you might want to try a tool like this, because then you can make the same fancy circles I do without having to do quite as much work!
You may know that I have a Google Drive folder of all my free hand-drawn coloring pages, but I’m going to start a new one for these digital tool-assisted pieces. This will make it easier to choose coloring pages based on what better suits your personal tastes, and I will be able to release new line art faster using this tool. I can’t lie, my traditional pieces are more sentimental to me though since I have to put more work into them. You can expect to see me putting out both traditional and digital mandalas in the future, as I enjoy them both for different reasons.
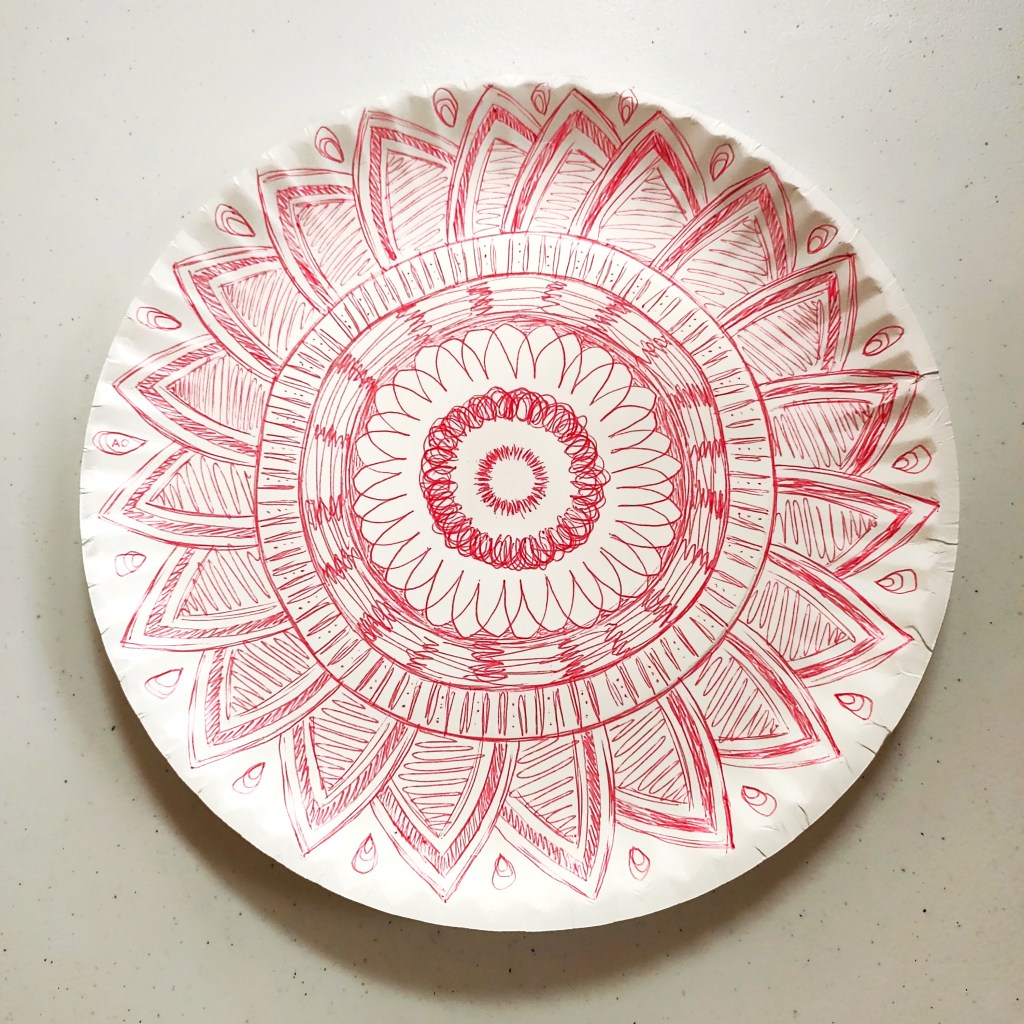
I went to my first in-person NA meeting since the start of the pandemic today, and once the meeting actually started I realized I was missing something very important: doodling supplies.
Luckily I had a fresh clean paper plate in front of me, all I needed was some ink. So I asked my sponsor to borrow a pen and with that I was all set!
Personally I find it much easier to focus on listening when my hands are busy drawing, especially something like a mandala or other abstract doodles. Otherwise I get too caught up in my own head to pay attention to what’s being said!
It’s nothing too impressive visually but I wanted to share anyway, as it’s the first drawing I’ve done in a while. I guess lately I’ve been having trouble drawing in sketchbooks and I’ve found a lot more enjoyment from drawing on random objects. I’ll definitely keep this in mind for when my No Buy ends.
Maybe it’s time for me to move on from being primarily a “sketchbook artist.” But I set a serious goal for important reasons so I’m not going to stop my No Buy now just because of this realization. I think I will always keep sketchbooks even if they aren’t my primary thing, and this year will be over before I know it.
Well that’s all for now, see you in the next post! Happy doodling 🙂
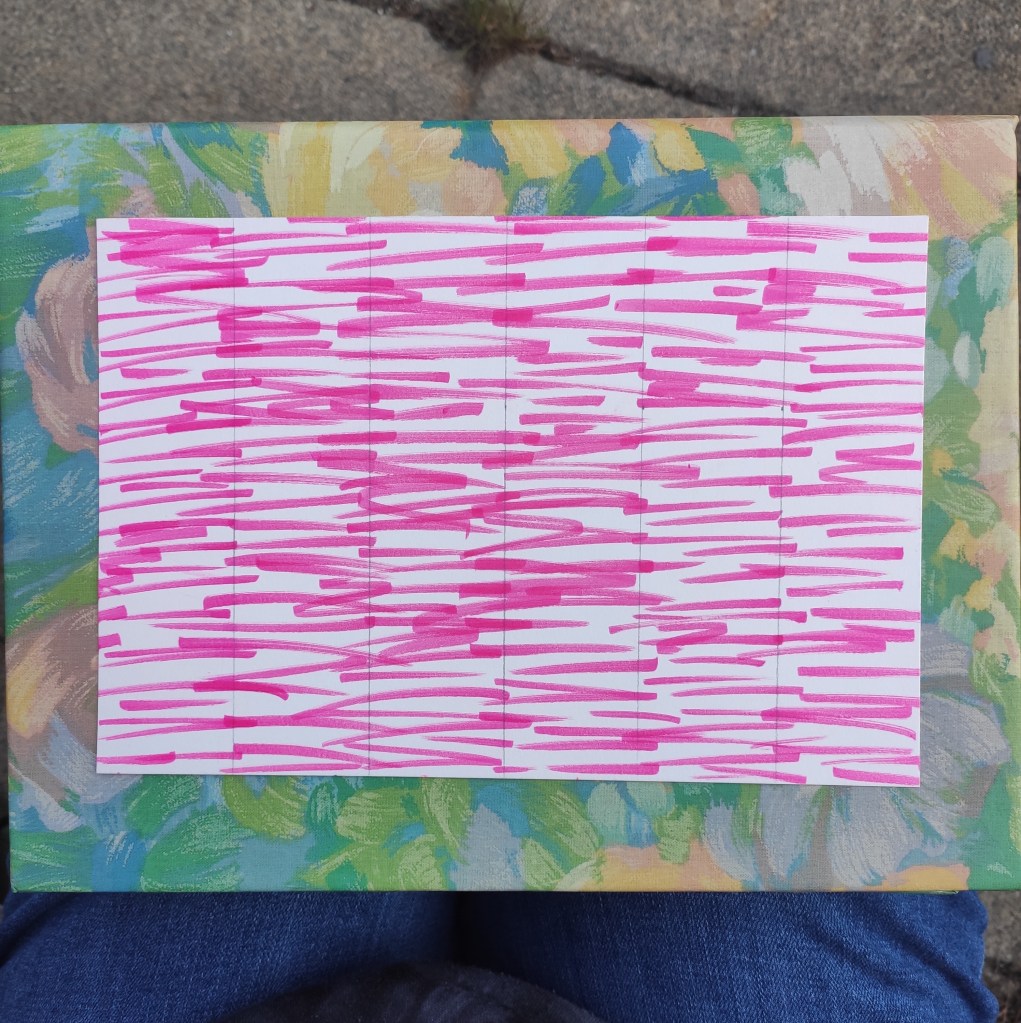
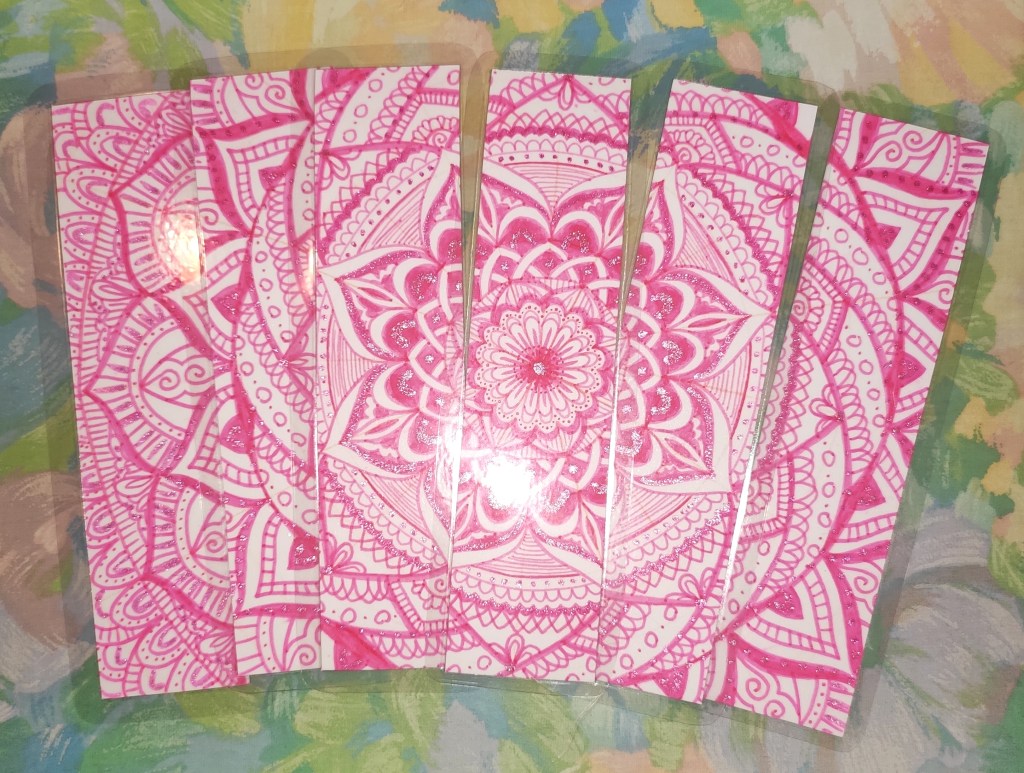
I’ve gotten really into reading again lately, and we’ve been frequenting the library. It’s hard to come home with just one book so we often find ourselves short on bookmarks! I’d been meaning to make some personalized ones for a while and I finally got around to doing it.
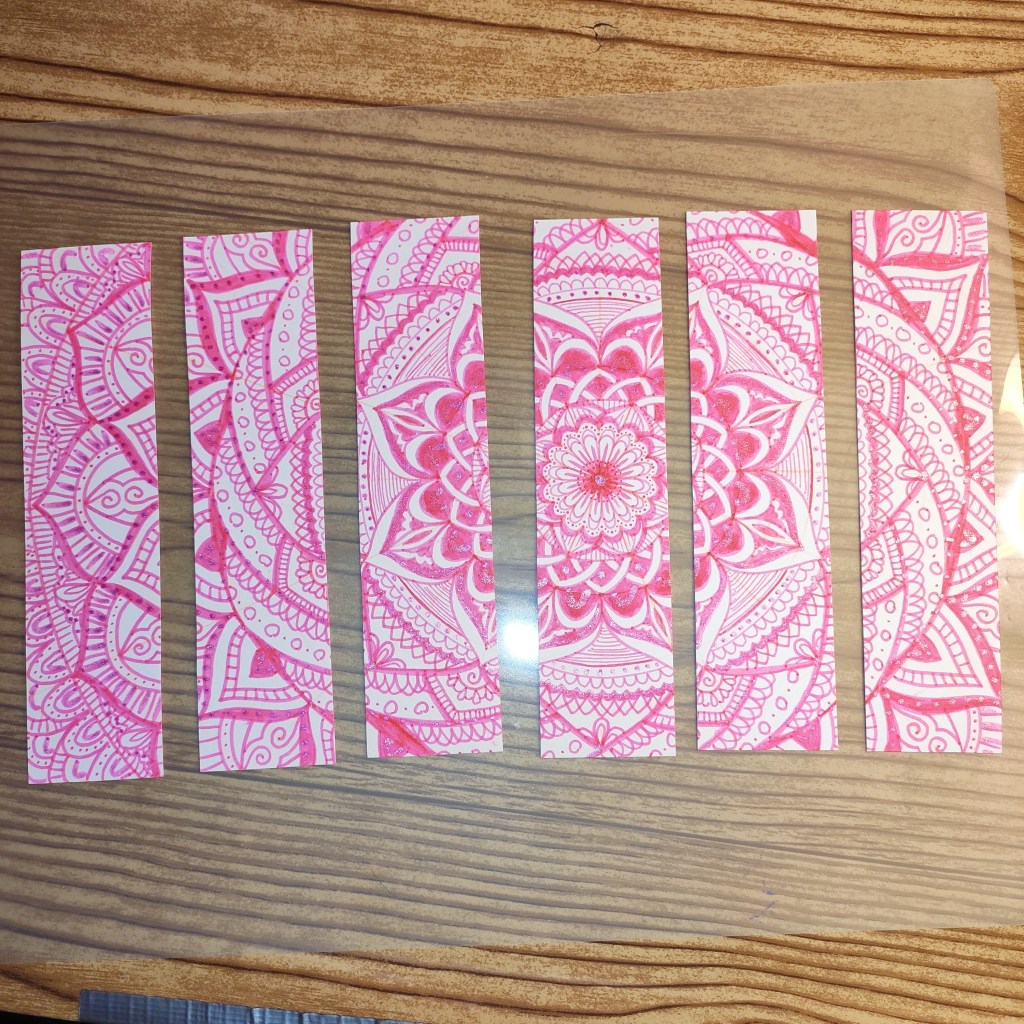
First I removed a sheet of paper from my sketchbook and divided the sheet into 6 neat rectangles on what would become the back side. My partner helped me with this part, I kept doing something wrong with the measurements and it became very frustrating. She managed to make perfect sixths. Thanks, Jazzy!
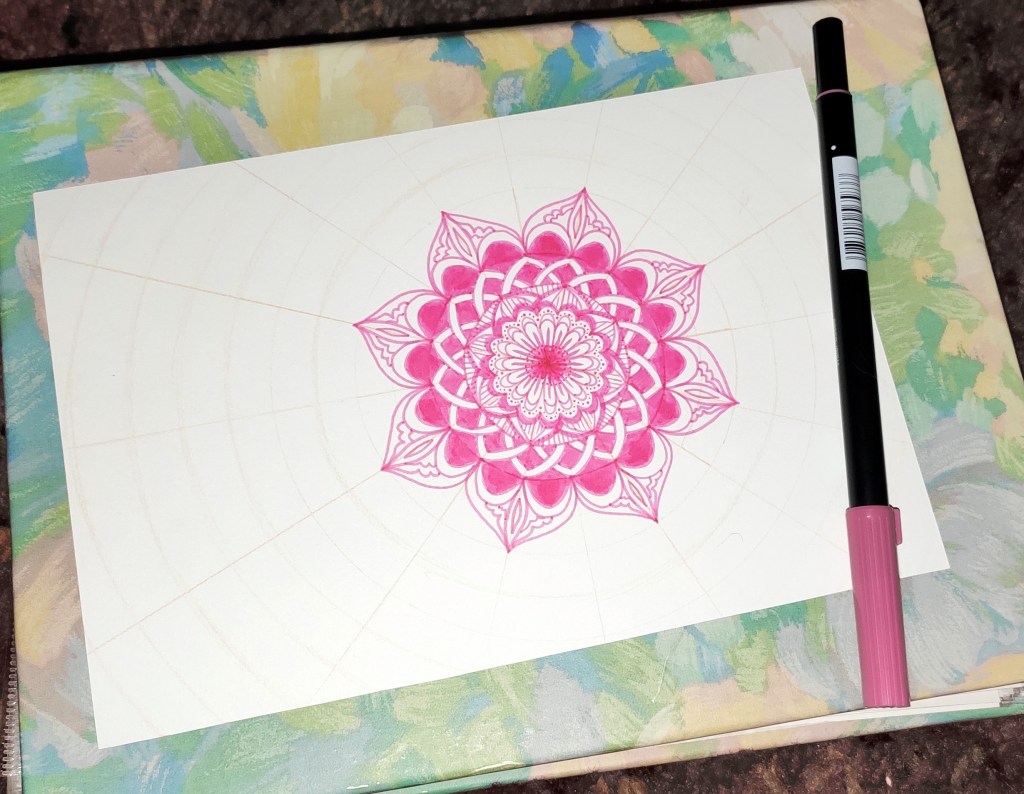
The second step was to lay guidelines for the mandala. I used an orange colored pencil so I wouldn’t have muddy graphite lines. Decided to use tools this time, even though I love fully freehanding mandalas. I knew if I wasn’t satisfied with the artwork I would start from scratch, and using guidelines usually prevents that from happening, so I decided to play it safe this time.
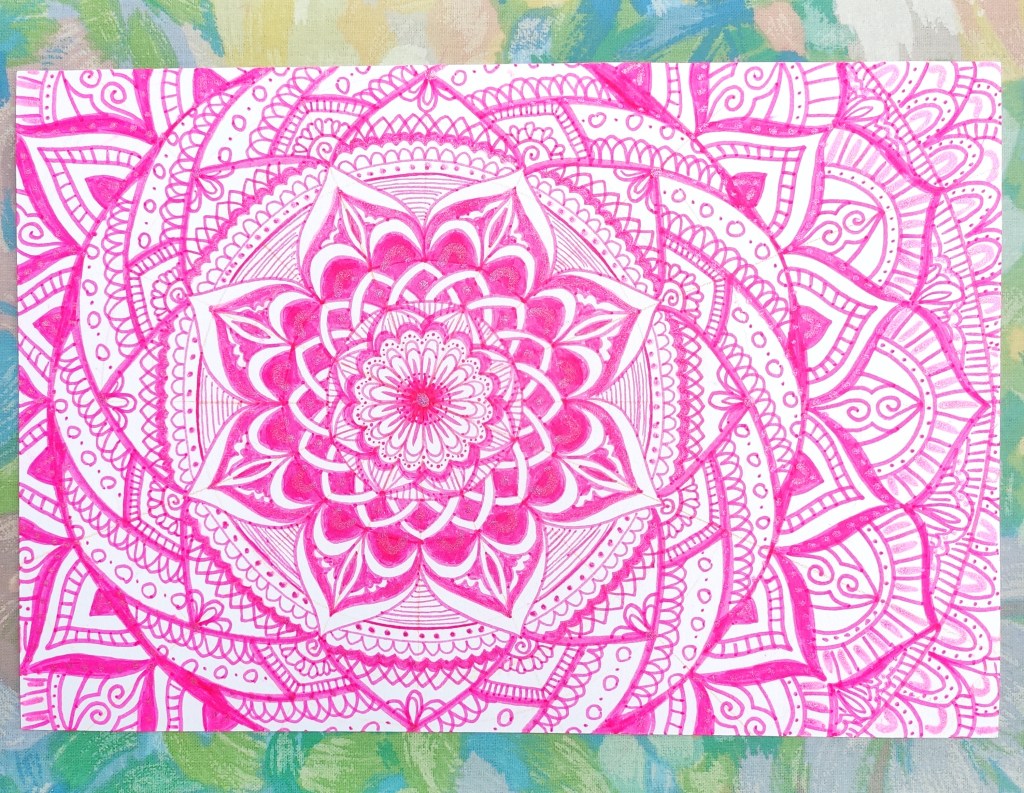
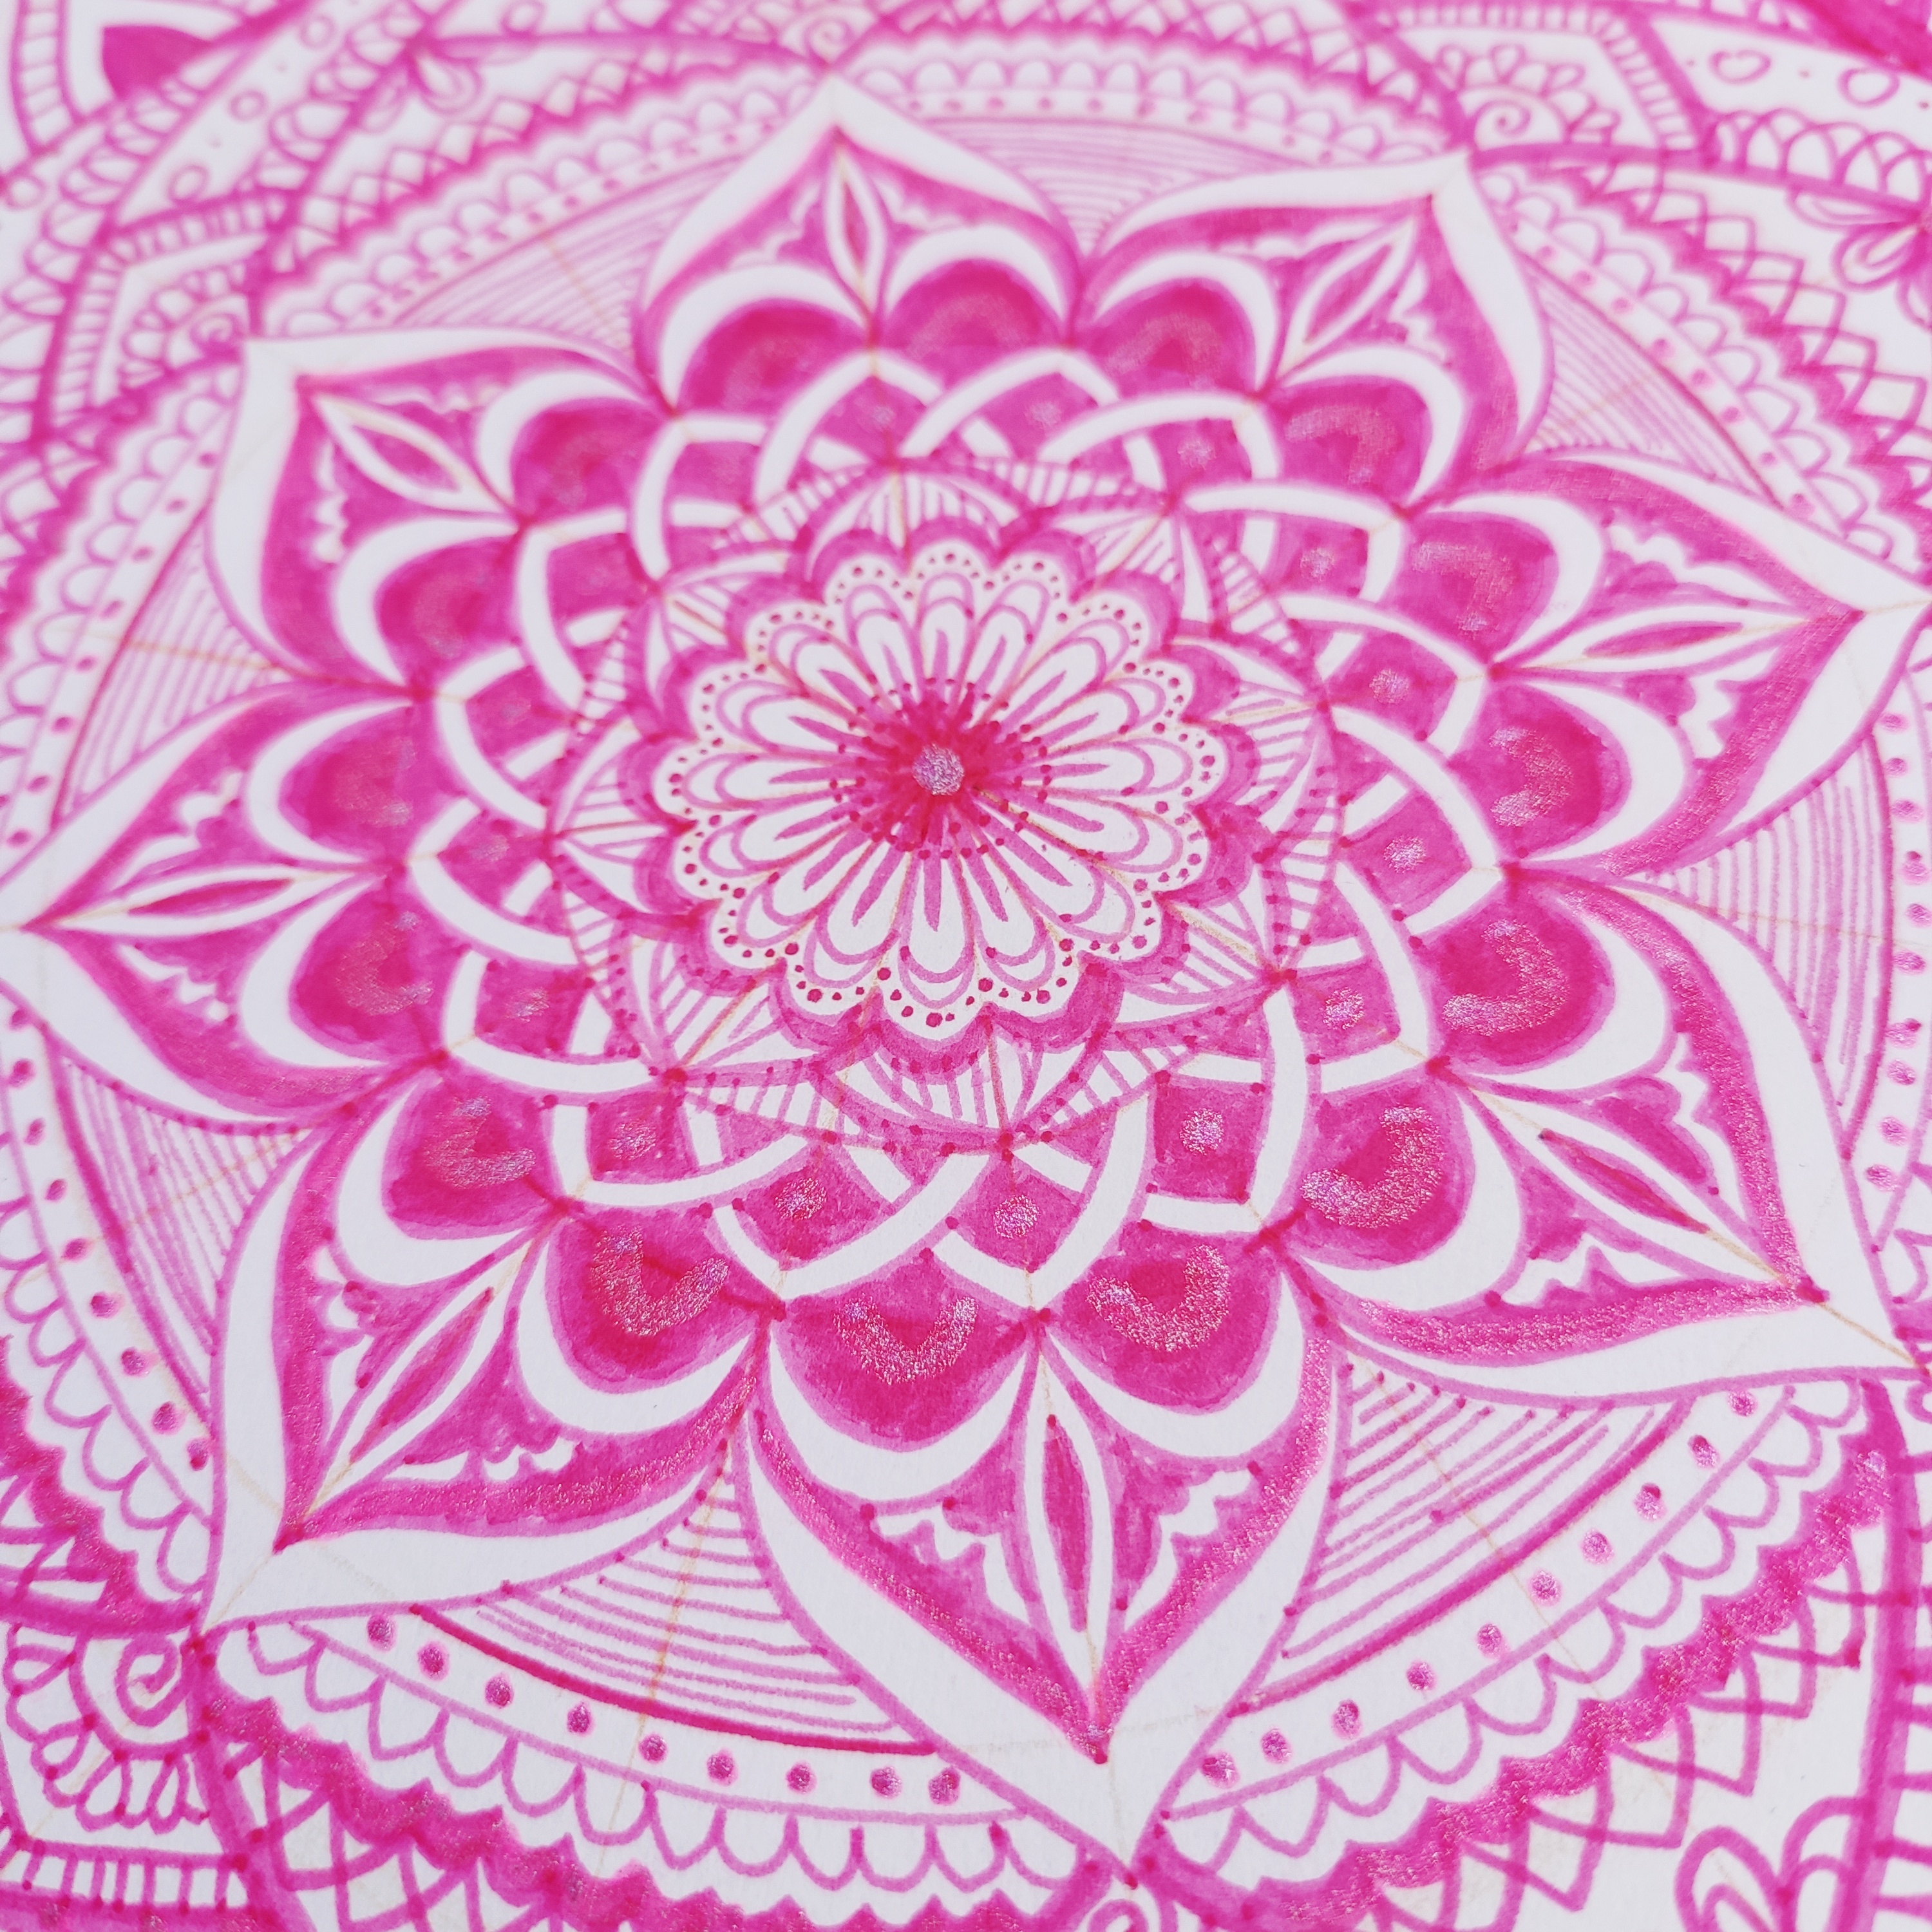
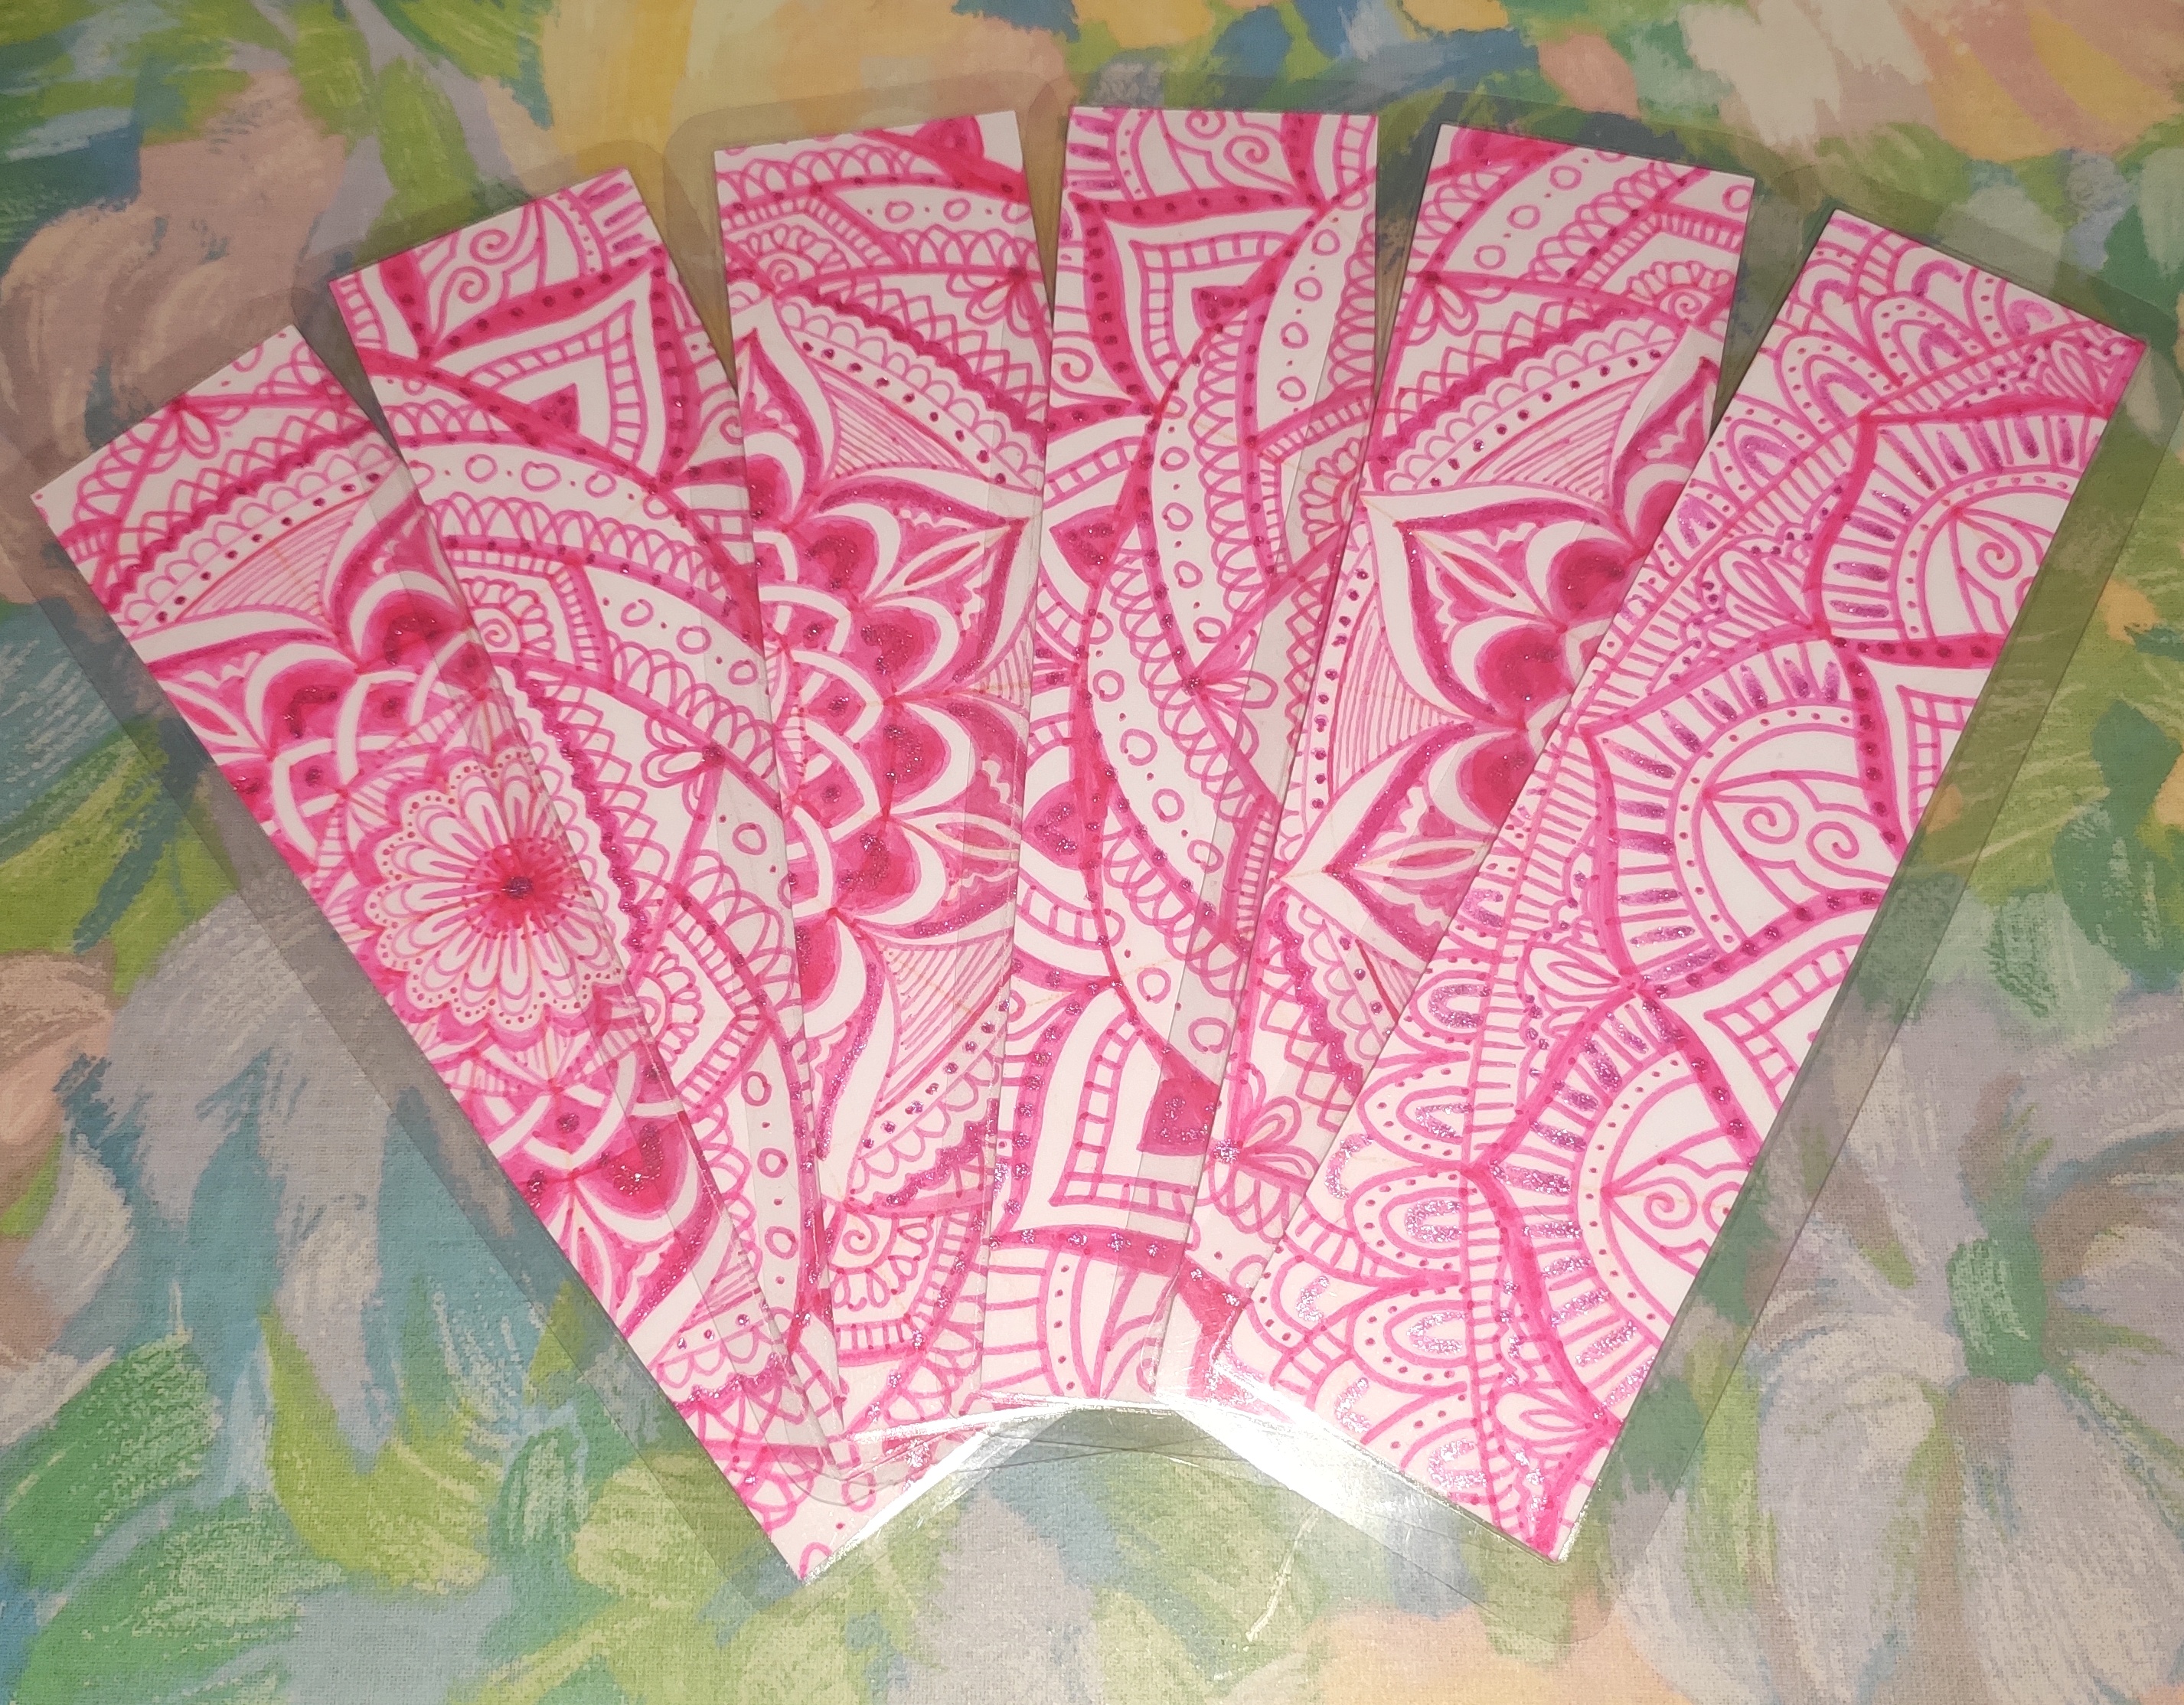
Then I doodled away until finally all of the white space was filled! As a finishing touch I added some glitter pen here and there, I just can’t resist sparkles! ✨
Next up was slicing up my work! A bit nerve wracking but I knew the results would be worth it. I signed each bookmark separately on the back before arranging them in the plastic lamination sheet.
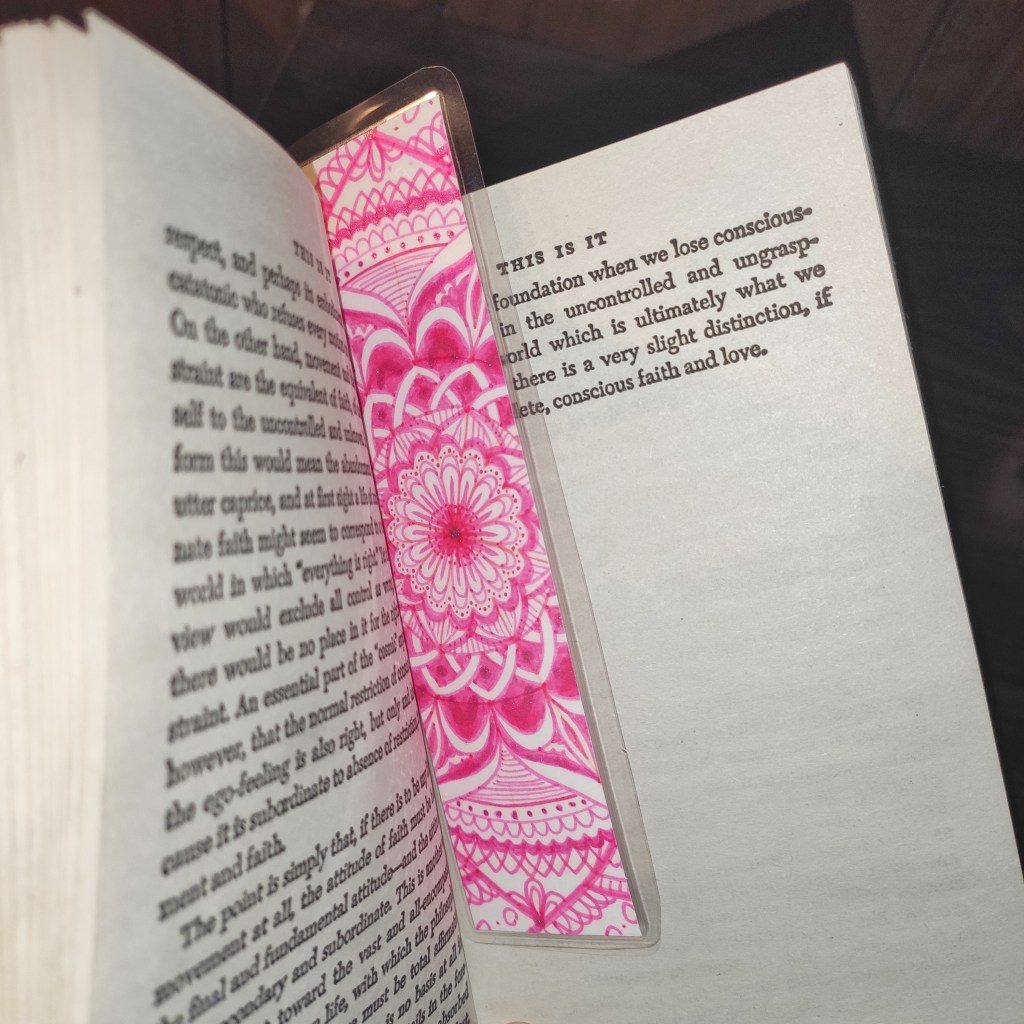
Finally, the part I’d been waiting for, running it through the lamination machine! It’s my mom’s and it’s over 15 years old now but it still works like the first day we got it. Shout out to my mom for her help with this project! Couldn’t have done it without her. We ran it through twice, then I cut out the bookmarks to their final sizes and then ran each through the machine one last time.
And there you have it, some cheap DIY bookmarks that are built to last!
I used Tombow water based marker and INC glitter pen on Strathmore mixed media sketchbook paper. I want to try doing watercolor bookmarks next time!
Lamination machines are probably not a common household item, but if you know someone who has one or happen to have one yourself I really do recommend trying to design your own bookmarks. There are some alternative methods to “laminate” things that you could also try.
It’s really nice to have that personal touch added to a frequently seen and used item. I know these babies are gonna be used a ton and I’ll always remember making them! Hopefully they will even motivate me to keep up my reading habit!
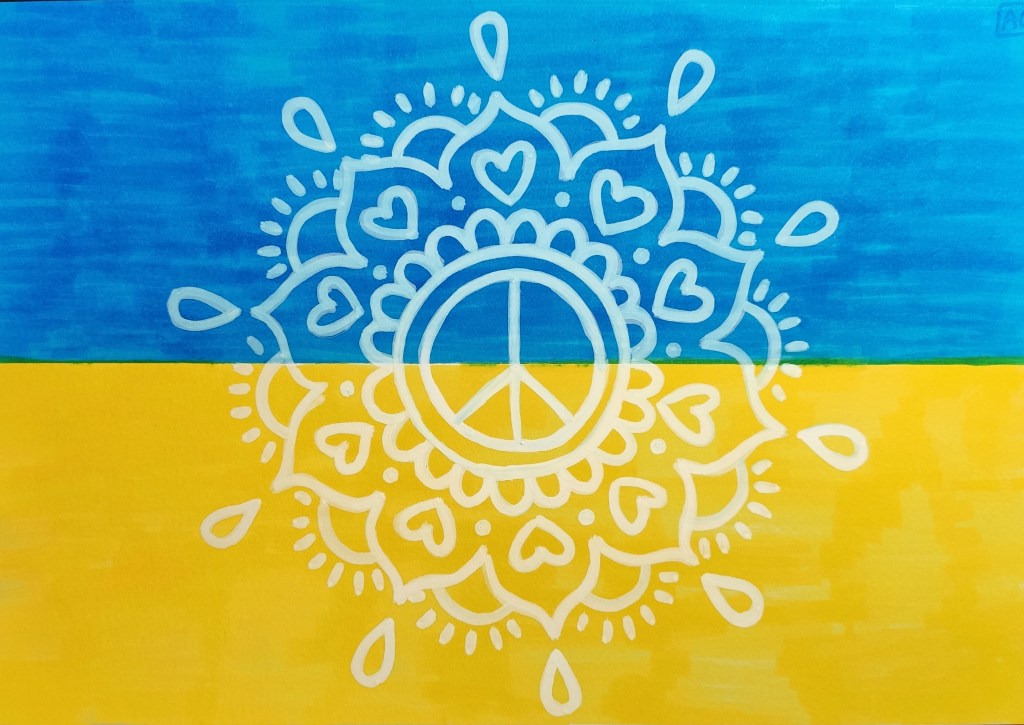
I created this mandala to vent my feelings, as an act of prayer for peace in Ukraine (and the whole world!) I am sharing it here now to have an excuse to talk about the matter.
I grew up going to school with several Ukrainian immigrant kids and that makes this horrible event just that much more real to me.
Of course this is far from the only important thing happening in the world but it is certainly a reflection of the state of the world as a whole. Too much violence, too little compassion. Civilians suffering the consequences of their political leaders’ greed. Same crap that’s been going on for thousand of years.
I will always side against injustice and violence. My hope is to inspire others to do the same.
We can’t do all the good the world needs but the world needs all the good we can do.
Again, I’d love to post full tours (or at the very least, more google drive folders!) of all my completed sketchbooks but I just lack the energy to devote to something like that right now.
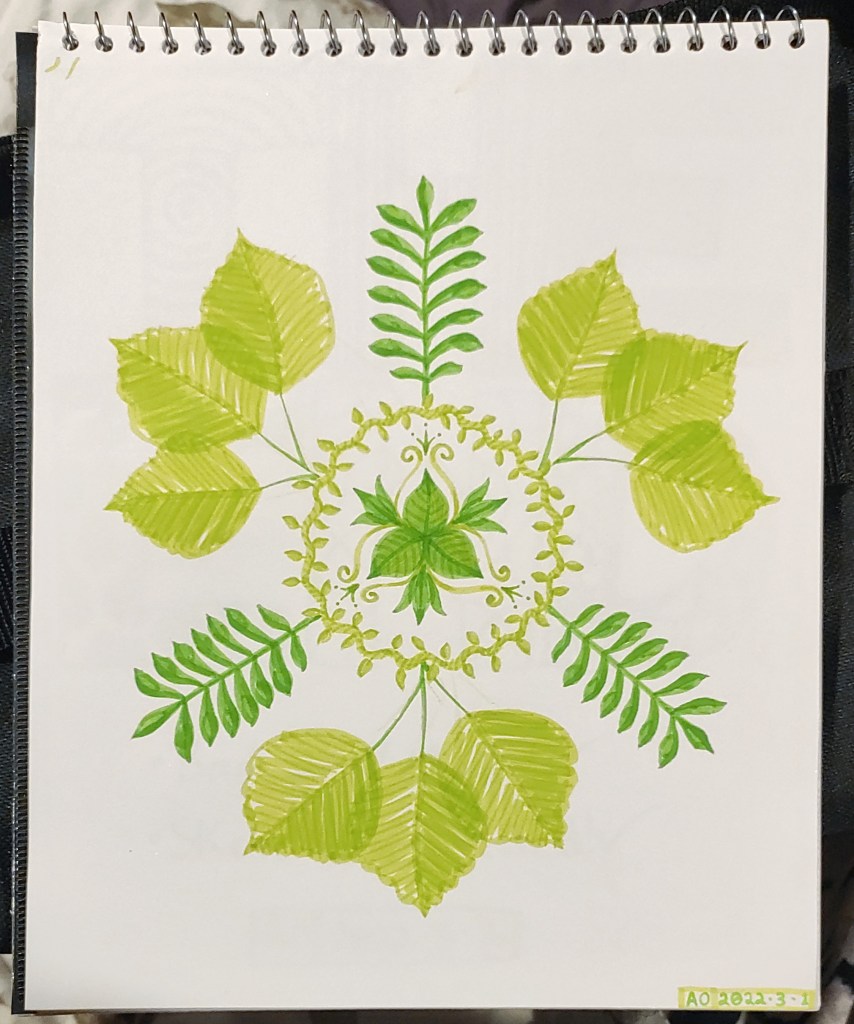
So in the meantime, here are some highlights from that sketchbook I just completed tonight. That one was definitely more of a messy sketchbook, there were countless terrible doodles, but I thought these pages turned out a little better than the rest.
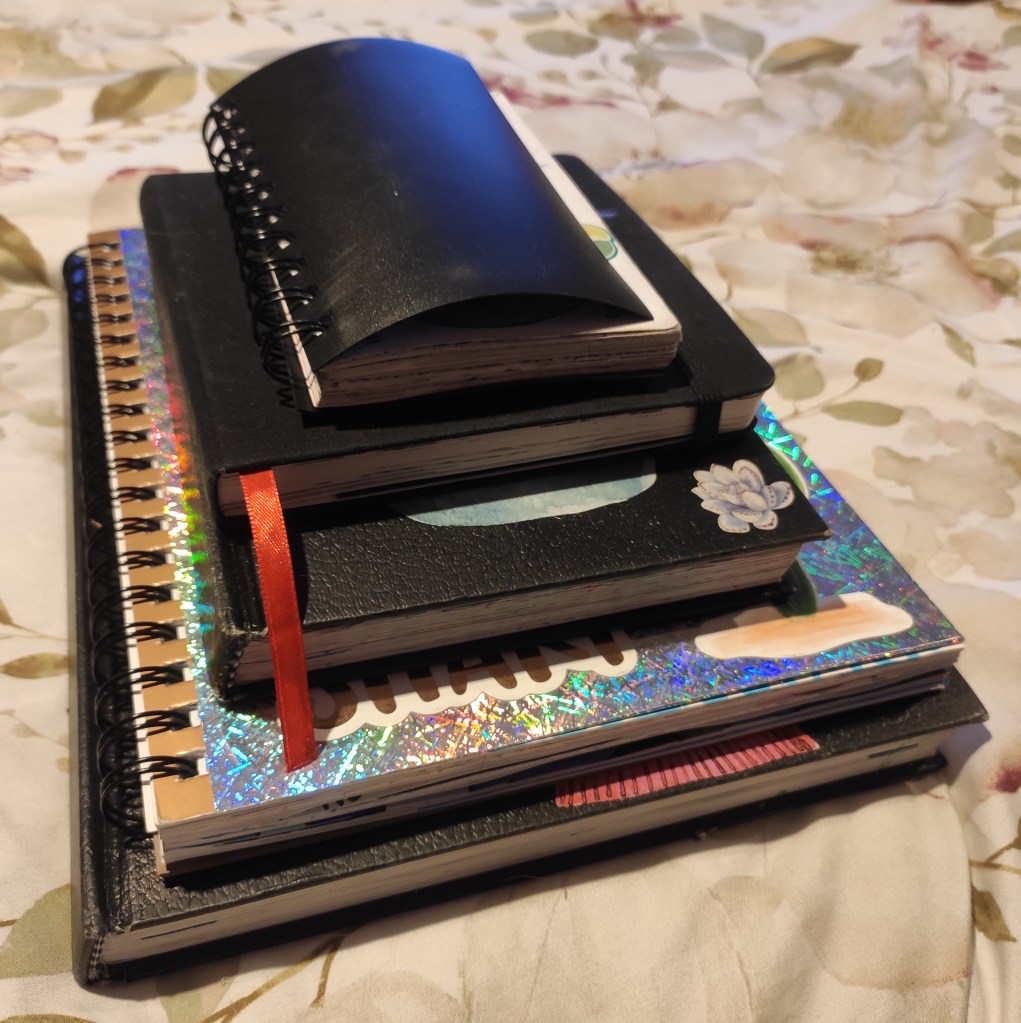
This quick and messy mandala marks the end of the 5th sketchbook I’ve ever filled up.My stack of completed sketchbooks.
It’s always a special day when I finally fill a sketchbook from front to back.
I almost exclusively work in sketchbooks because they’re so easy to store compared to loose papers and canvases. Whenever I make art outside of a sketchbook I generally give it away!
I noticed that my Google drive folders that contain photos of every page of my first two sketchbooks are down. I’ll have to fix that soon, but our computer is currently out of commission.
I may attempt to film sketchbook tours some day, but life is far too busy and messy to devote time to that right now. Plus my phone camera isn’t as good as I’d like it to be for something like that. I don’t even have anything that resembles a tripod!
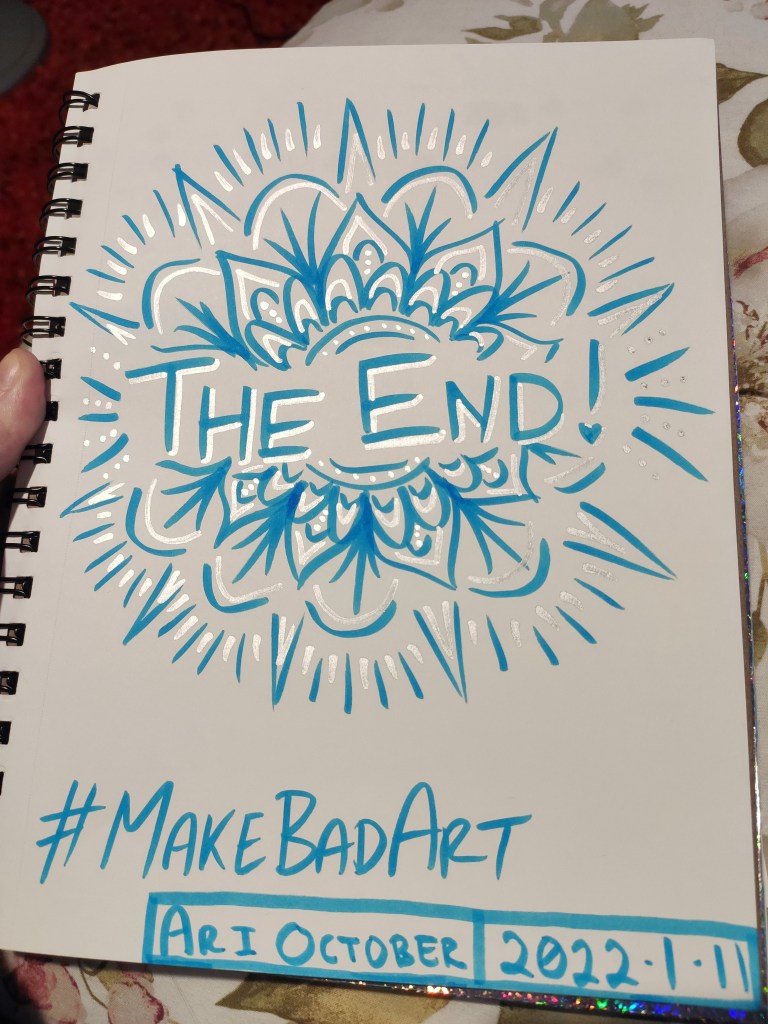
I just wanted to pop by and share my excitement! I made a resolution to finish filling 3 sketchbooks this year, since I have so many that are partially filled. That makes 1 down and 2 more to go, and it’s only the 11th of January! I’d love to fill more than 3 if possible, but we’ll see about that.
That’s also why I’ve been blogging so much more lately, I made keeping up with this blog another one of my resolutions. So far so good!
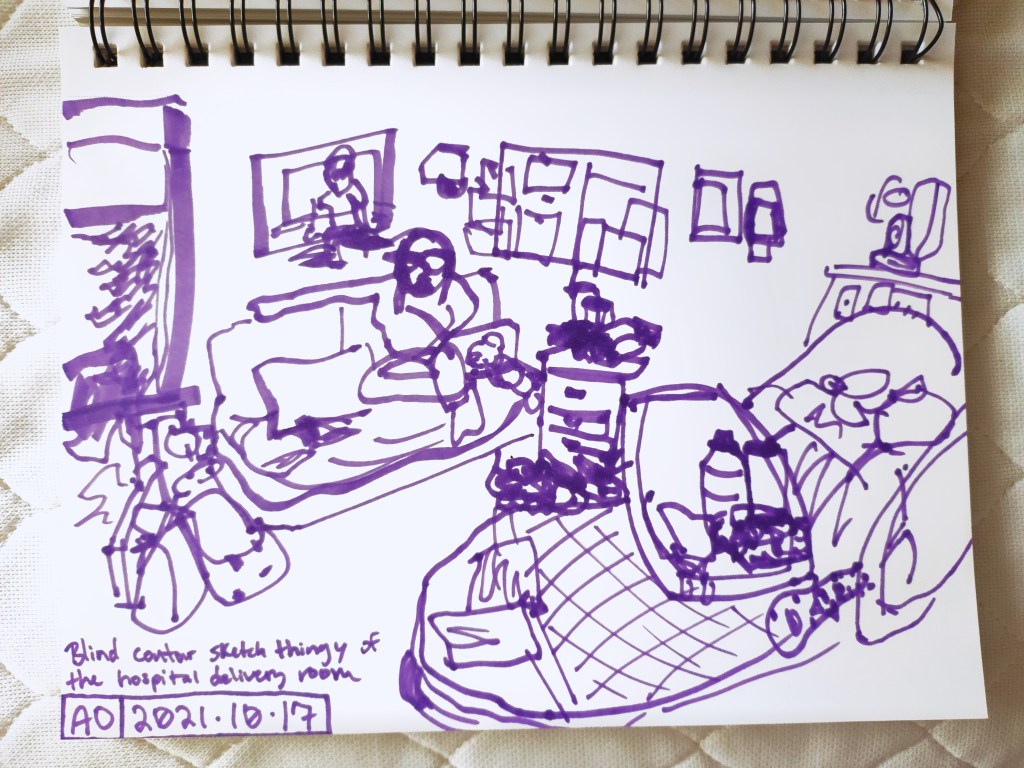
I’m happy to report that I was able to get a few doodles in during the hospital stay before our daughter was born!
Birdie was born very healthy via a semi-emergency cesarean. I was induced but failed to progress for 24 hours after my water broke, and then she was having some heart rate dips. Turns out she had the cord triple wrapped around her neck! We are very lucky that things turned out as they did, even though the whole situation was very stressful… Not to mention uncomfortable. My spinal failed so I had to go under for the surgery but luckily I was still able to meet her not long after. C-section recovery is no joke, I have never been in so much pain in my life. Luckily now I am more or less all healed up, though I do have nerve damage on my lower tummy.
She’s almost 2 months old now and doing very well so far. She is getting progressively wigglier as she trains to start walking and crawling! I can’t wait until the day she can grasp a crayon…
I actually came here to write a different post, but I realized I hadn’t updated you all on the baby situation! So here’s that. Stay tuned for another post hopefully quite soon!
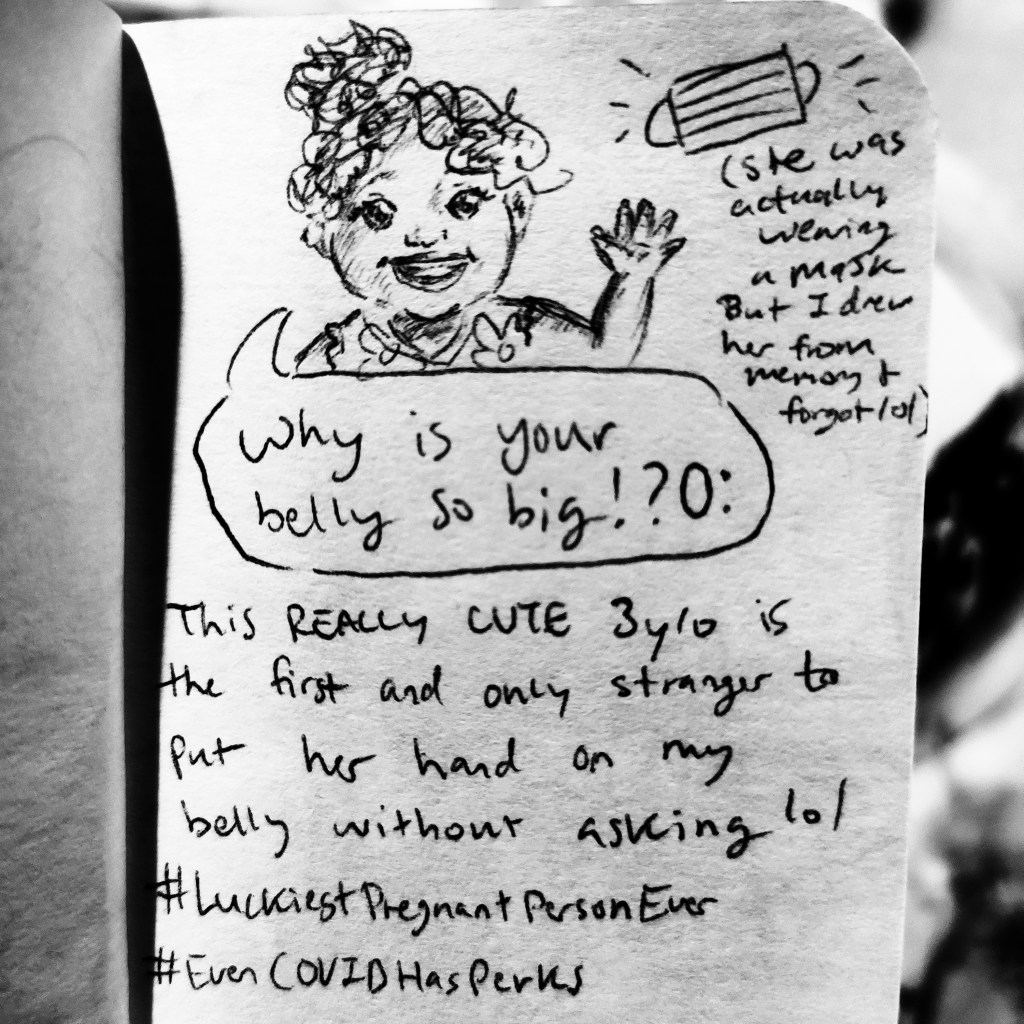
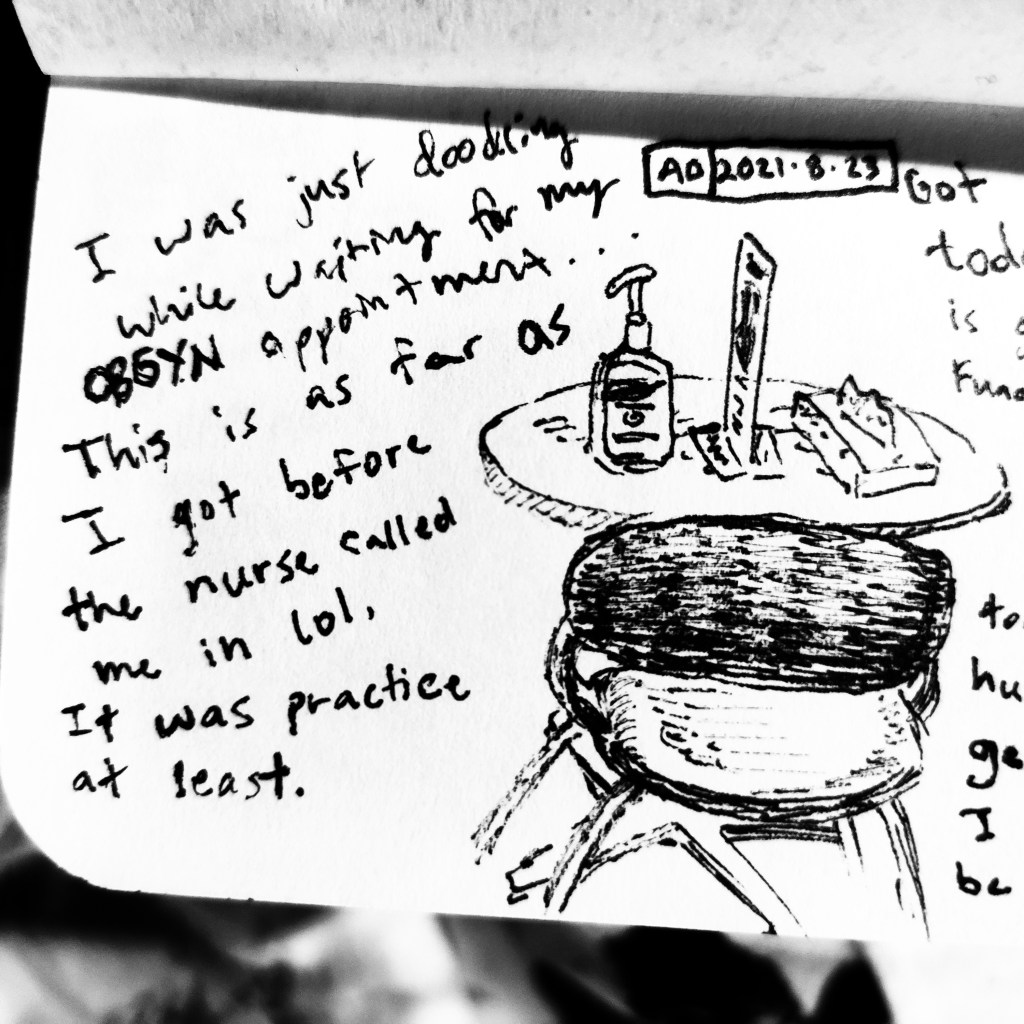
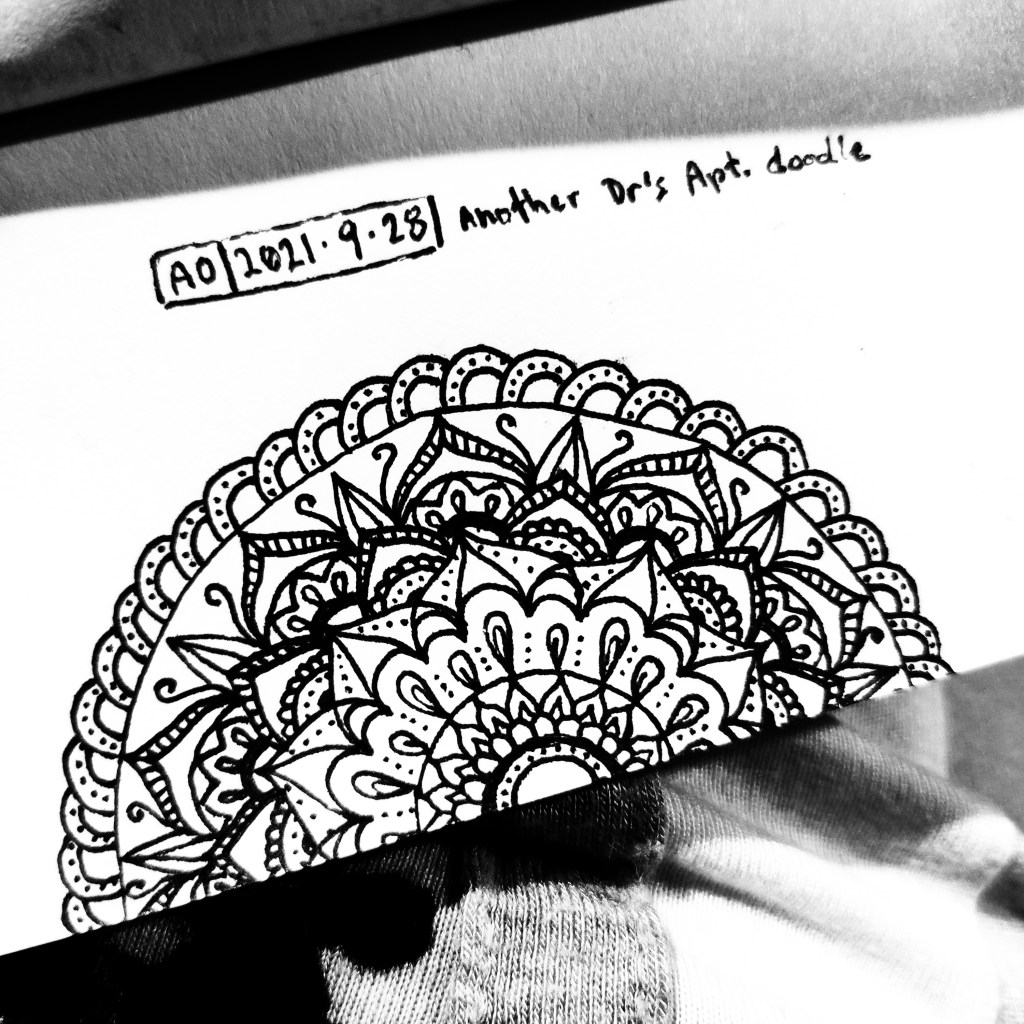
Since I’m nearing the end of my pregnancy, I’ve been having loads of doctor’s appointments. At this point it’s a weekly occurrence, so that means lots of time spent waiting in the waiting room, and then waiting in the office between being triaged and actually seeing the doctor. The best way to pass the time is to whip out my tiny sketcher and just doodle the minutes away!
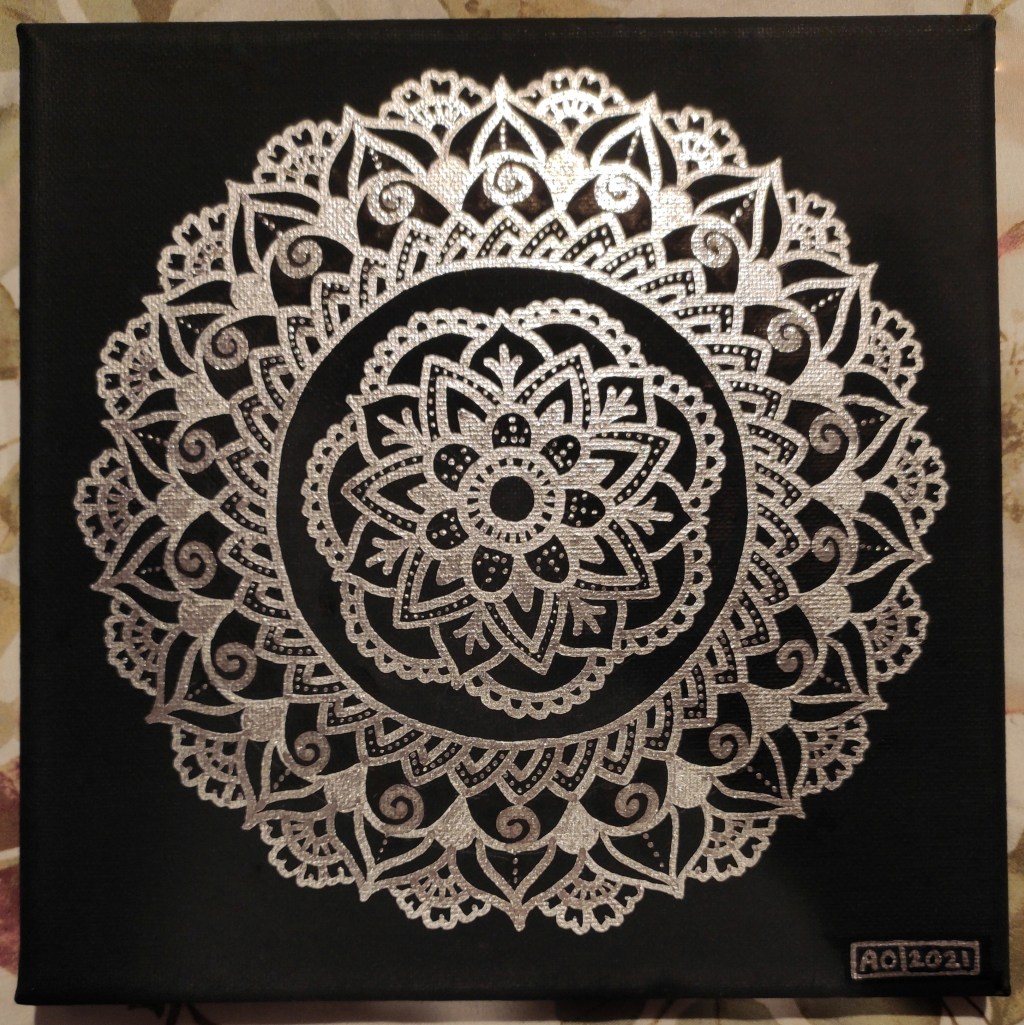
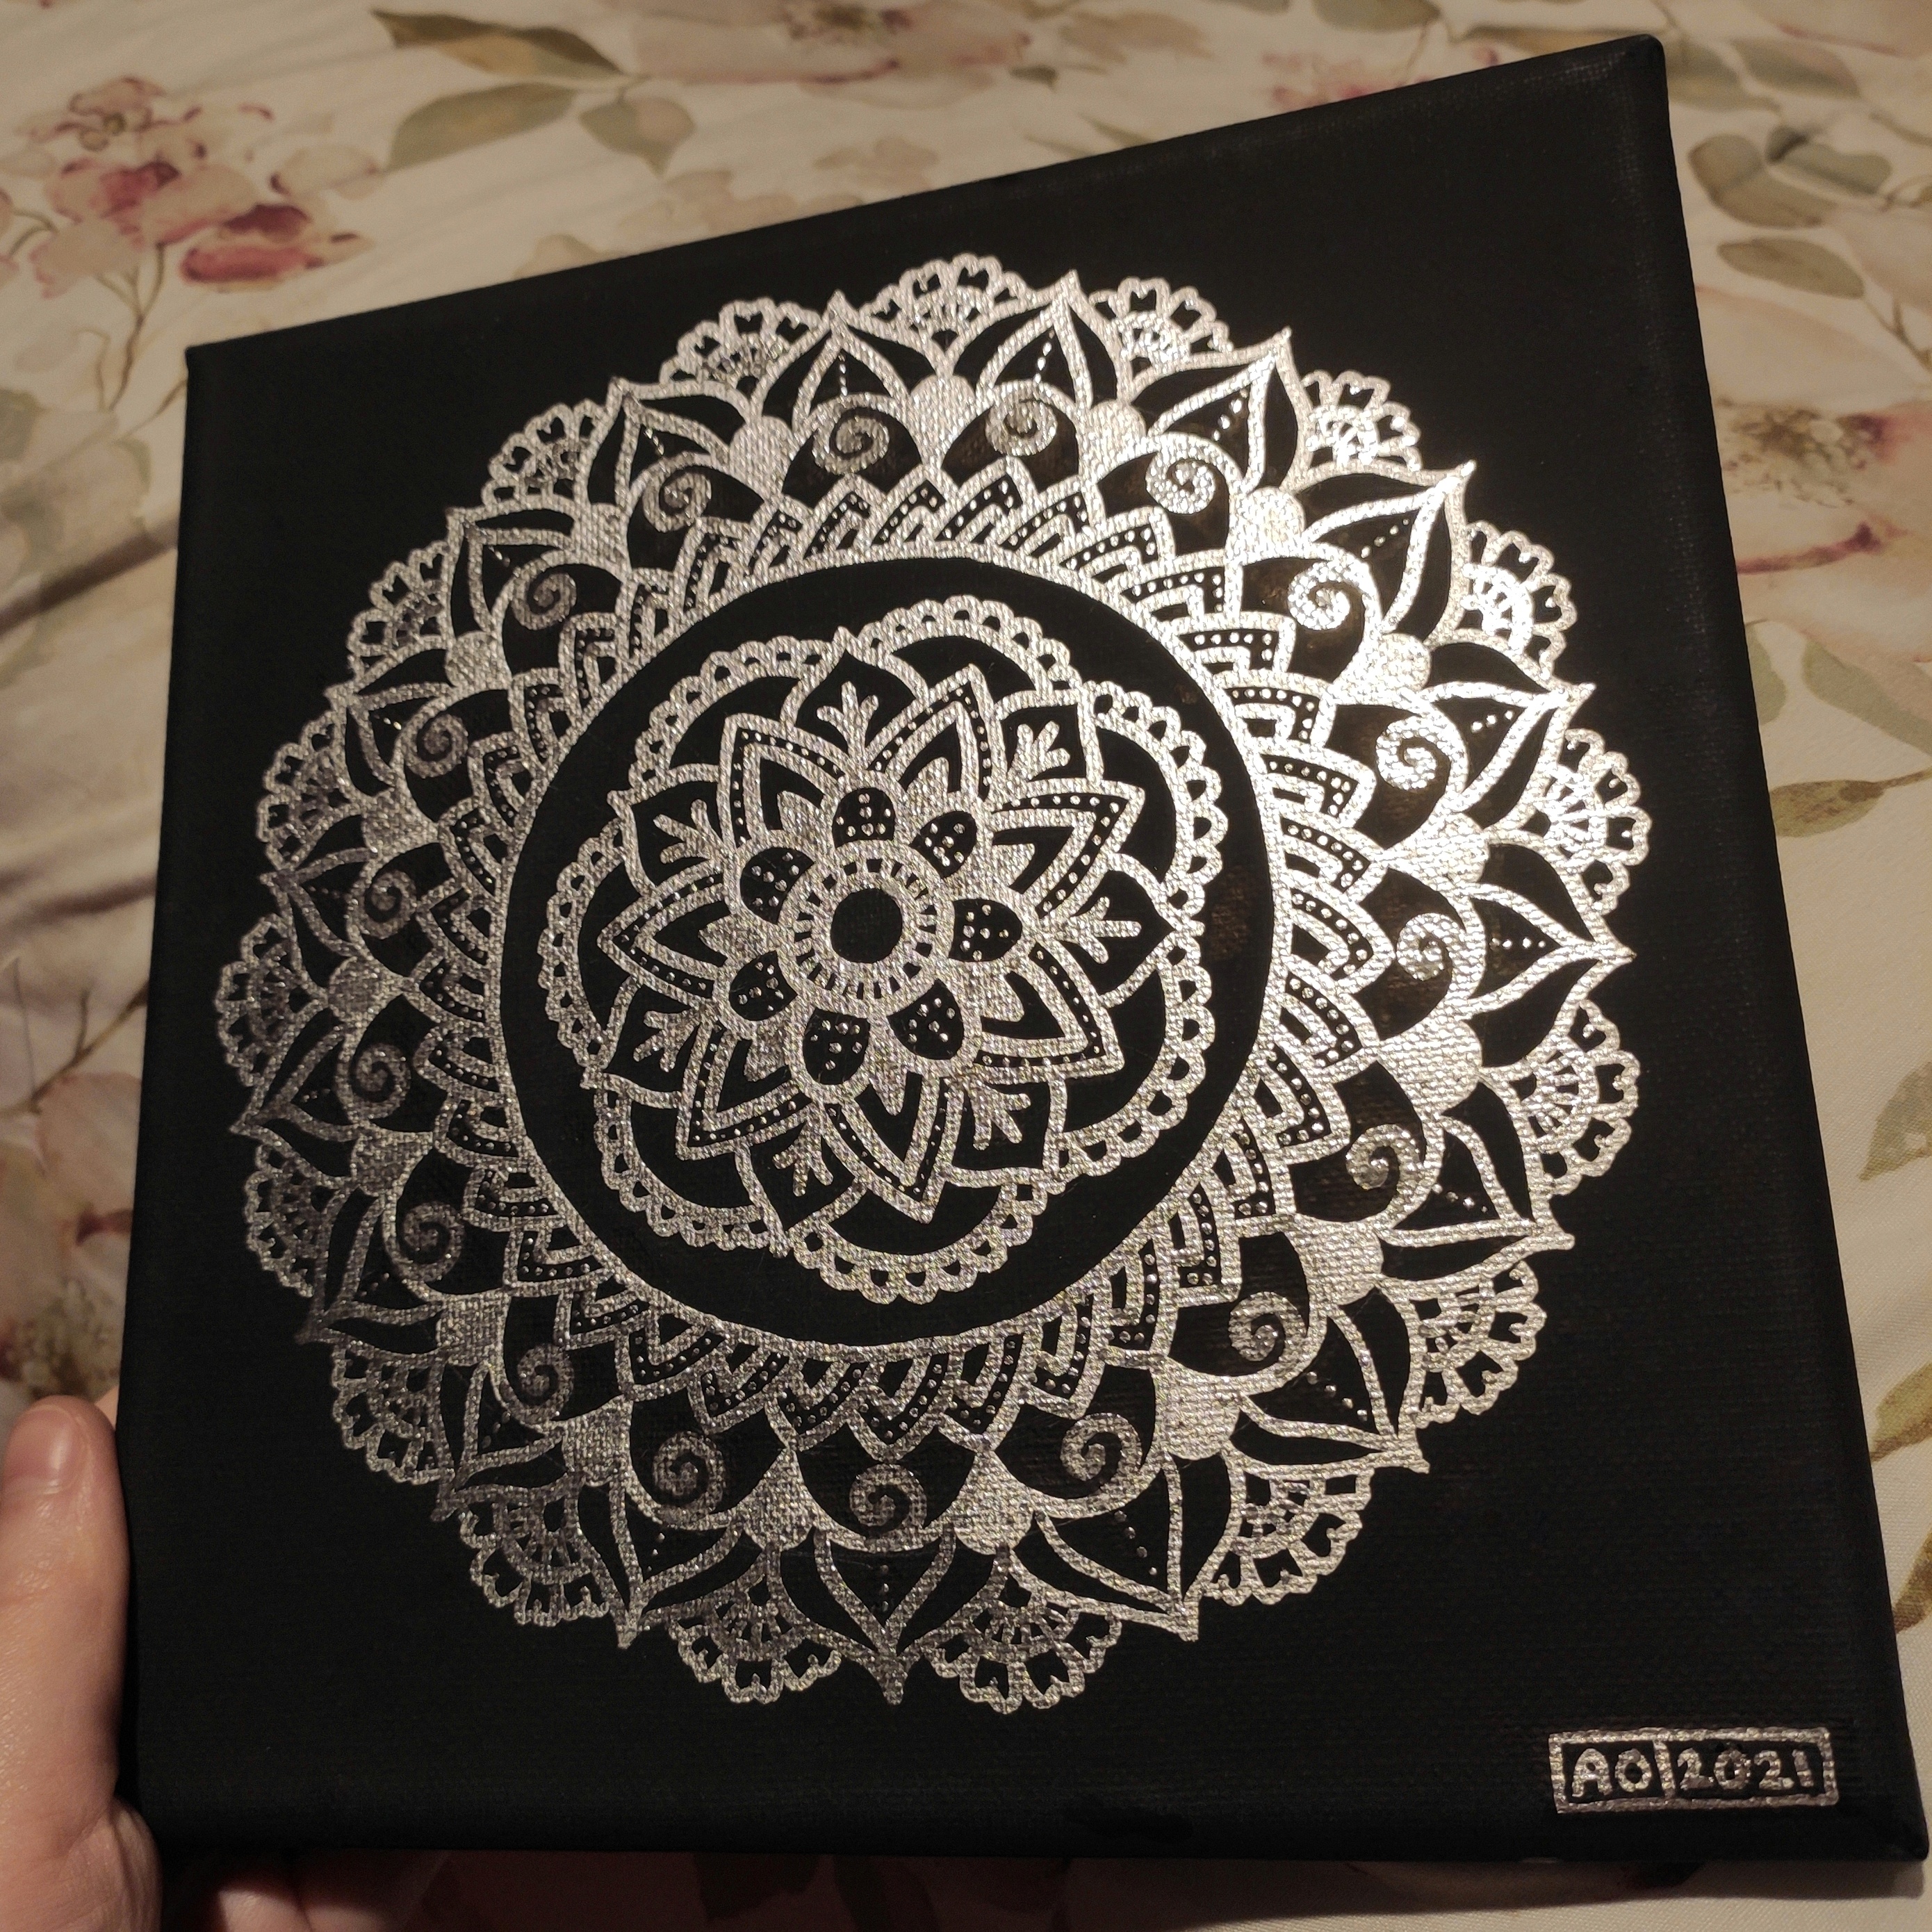
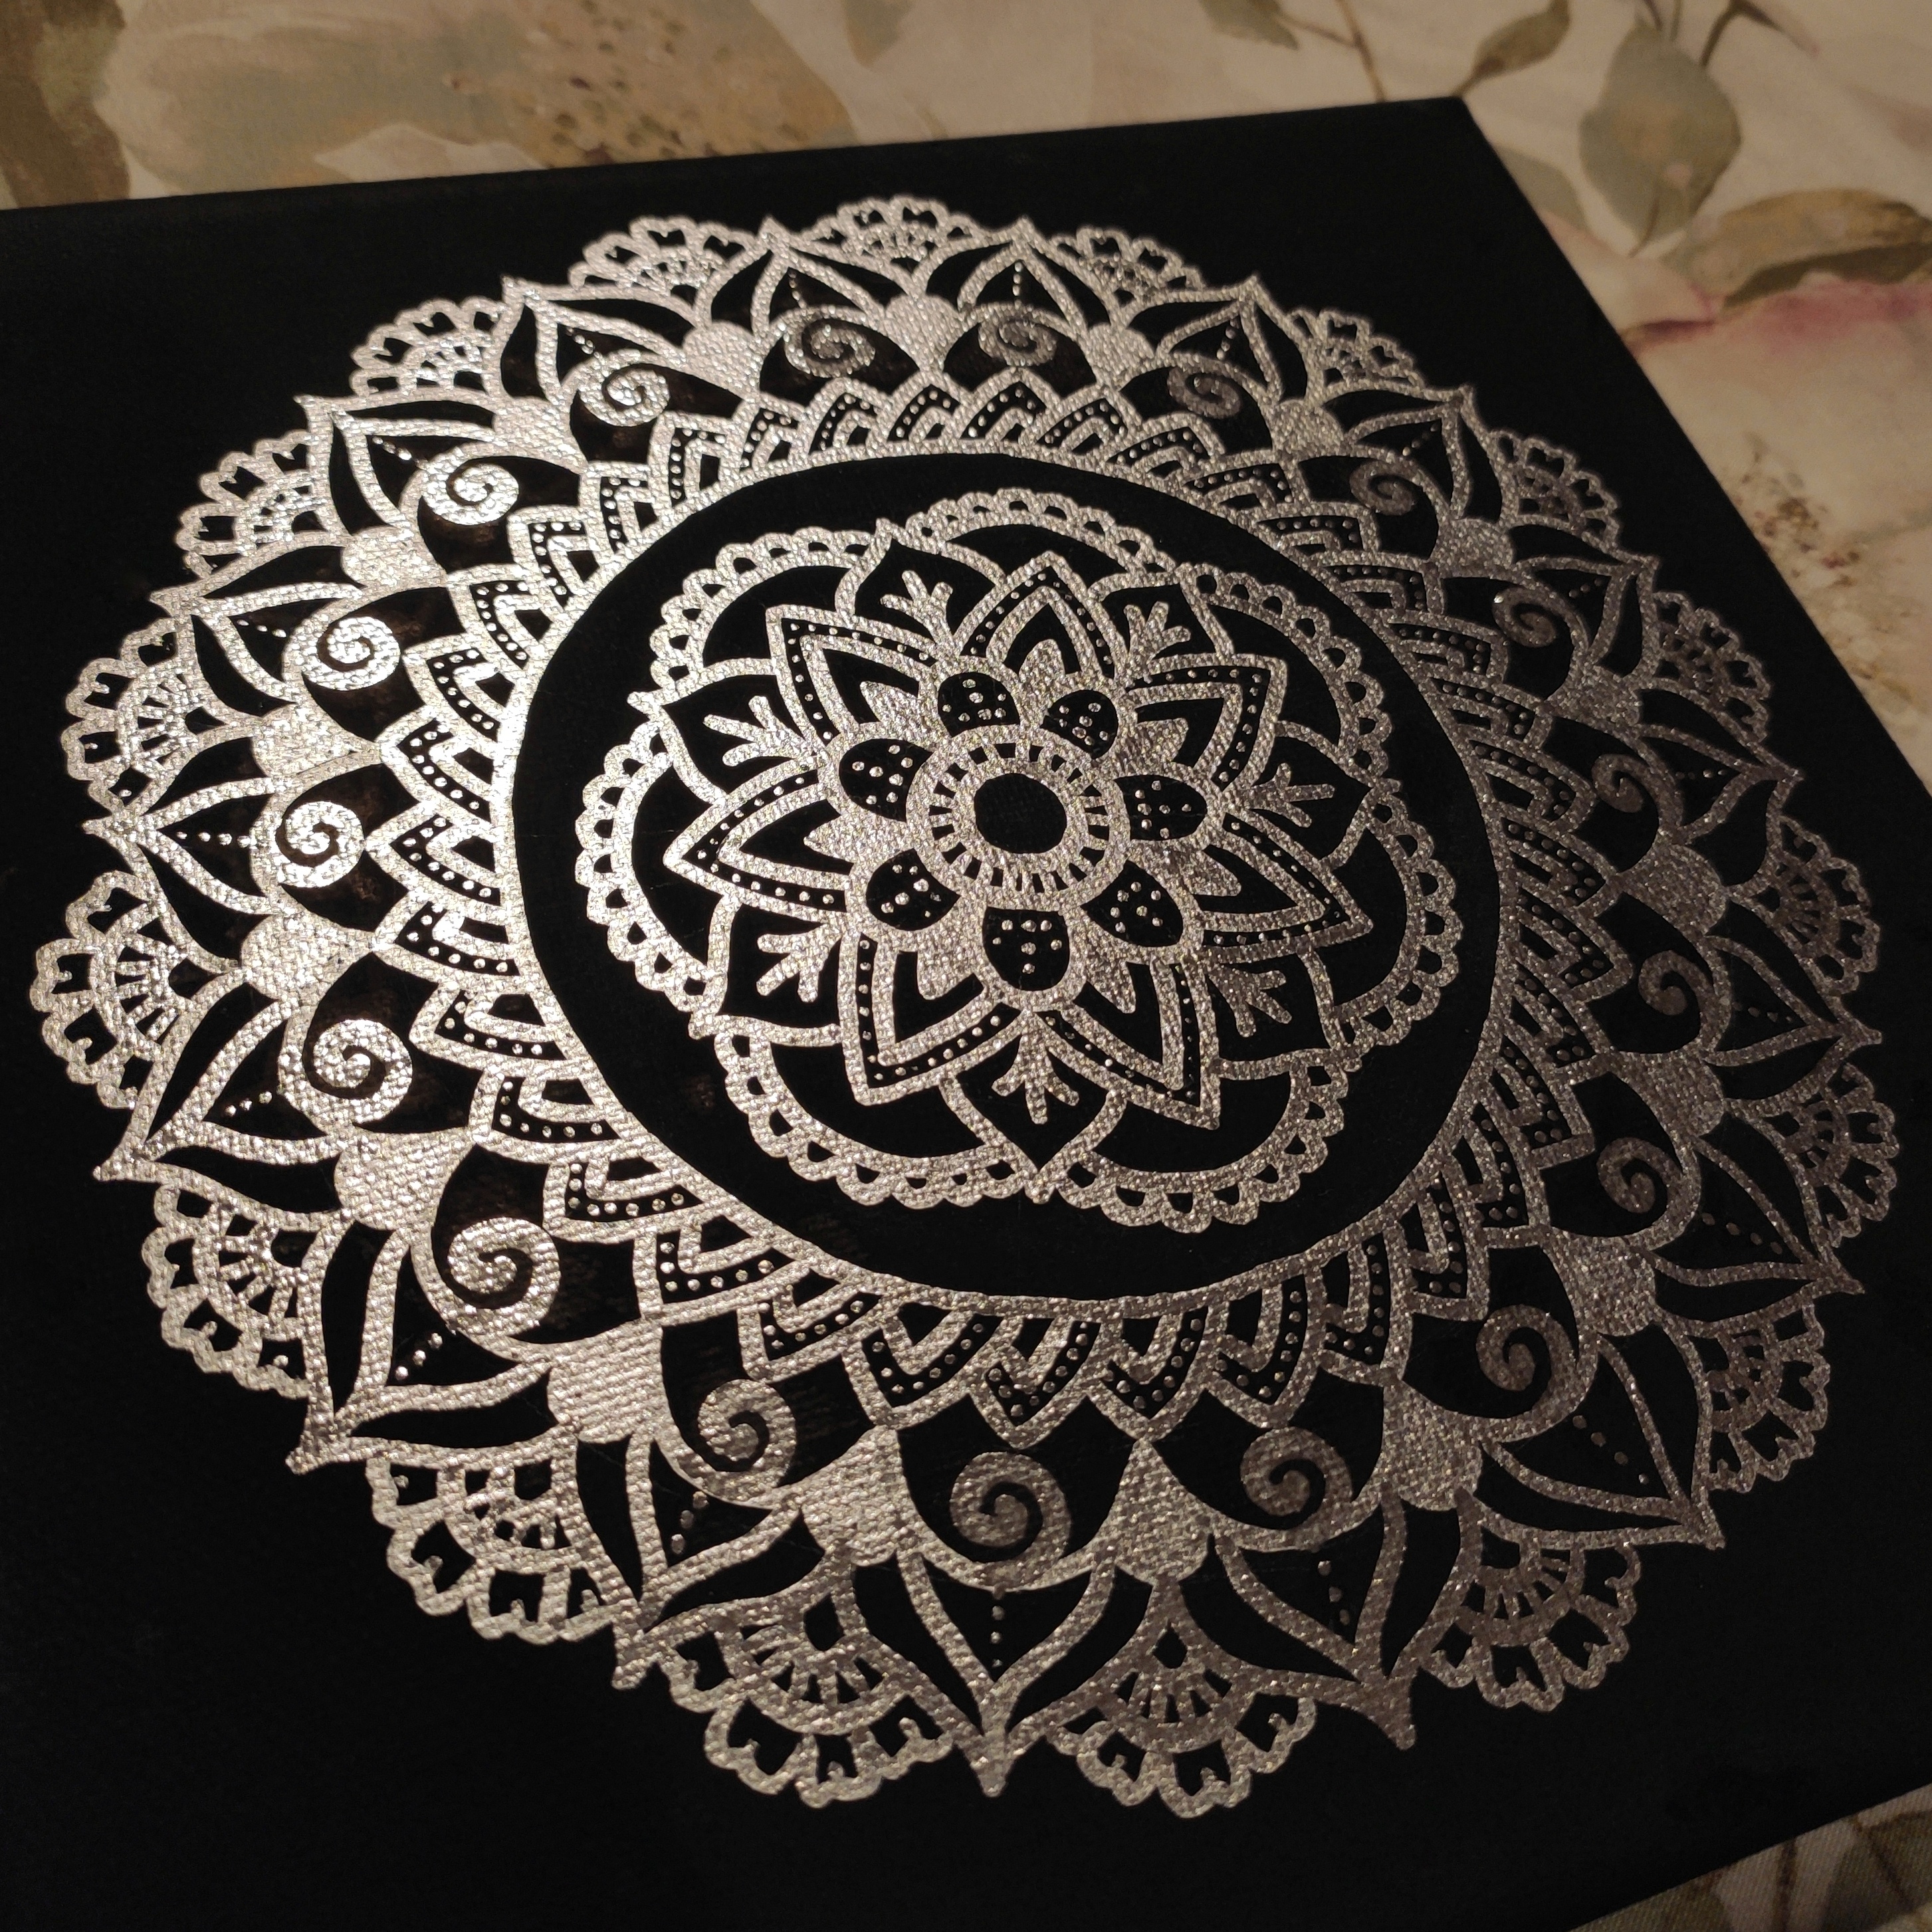
This last week I made some art, as my mom specifically requested art she could hang in her house as her birthday present.
I decided to use the opportunity to try something new, I wanted to try using my Molotow chrome marker on black canvas.
Luckily for me, Michael’s was having a huge sale on all of their Artist Loft brand canvases! On top of that, I had a $5 coupon with them to use up, so I got 4 canvases for pocket change. Awesome purchase!
I also used my circle template and ruler to make guidelines this time. I wanted it to be as symmetrical as possible, especially since I was working with a perfectly square canvas. As much as I love to freehand my mandalas, I think that technique is best for sketchbook pieces rather than these finished pieces intended to be viewed often by many.
I’m quite happy with the results. So happy in fact, I jokingly told my mom that I wanted to keep it for myself! I’m obsessed with that contrast and that shine!!
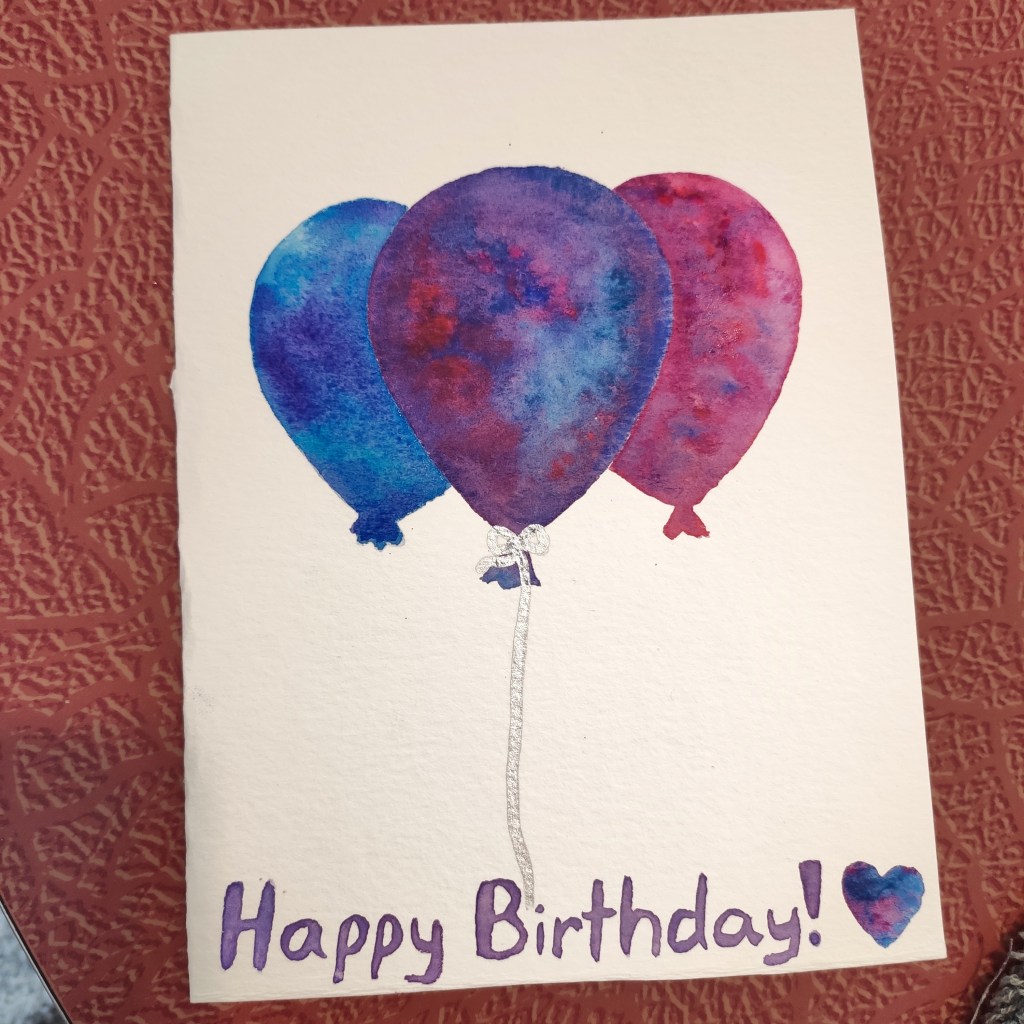
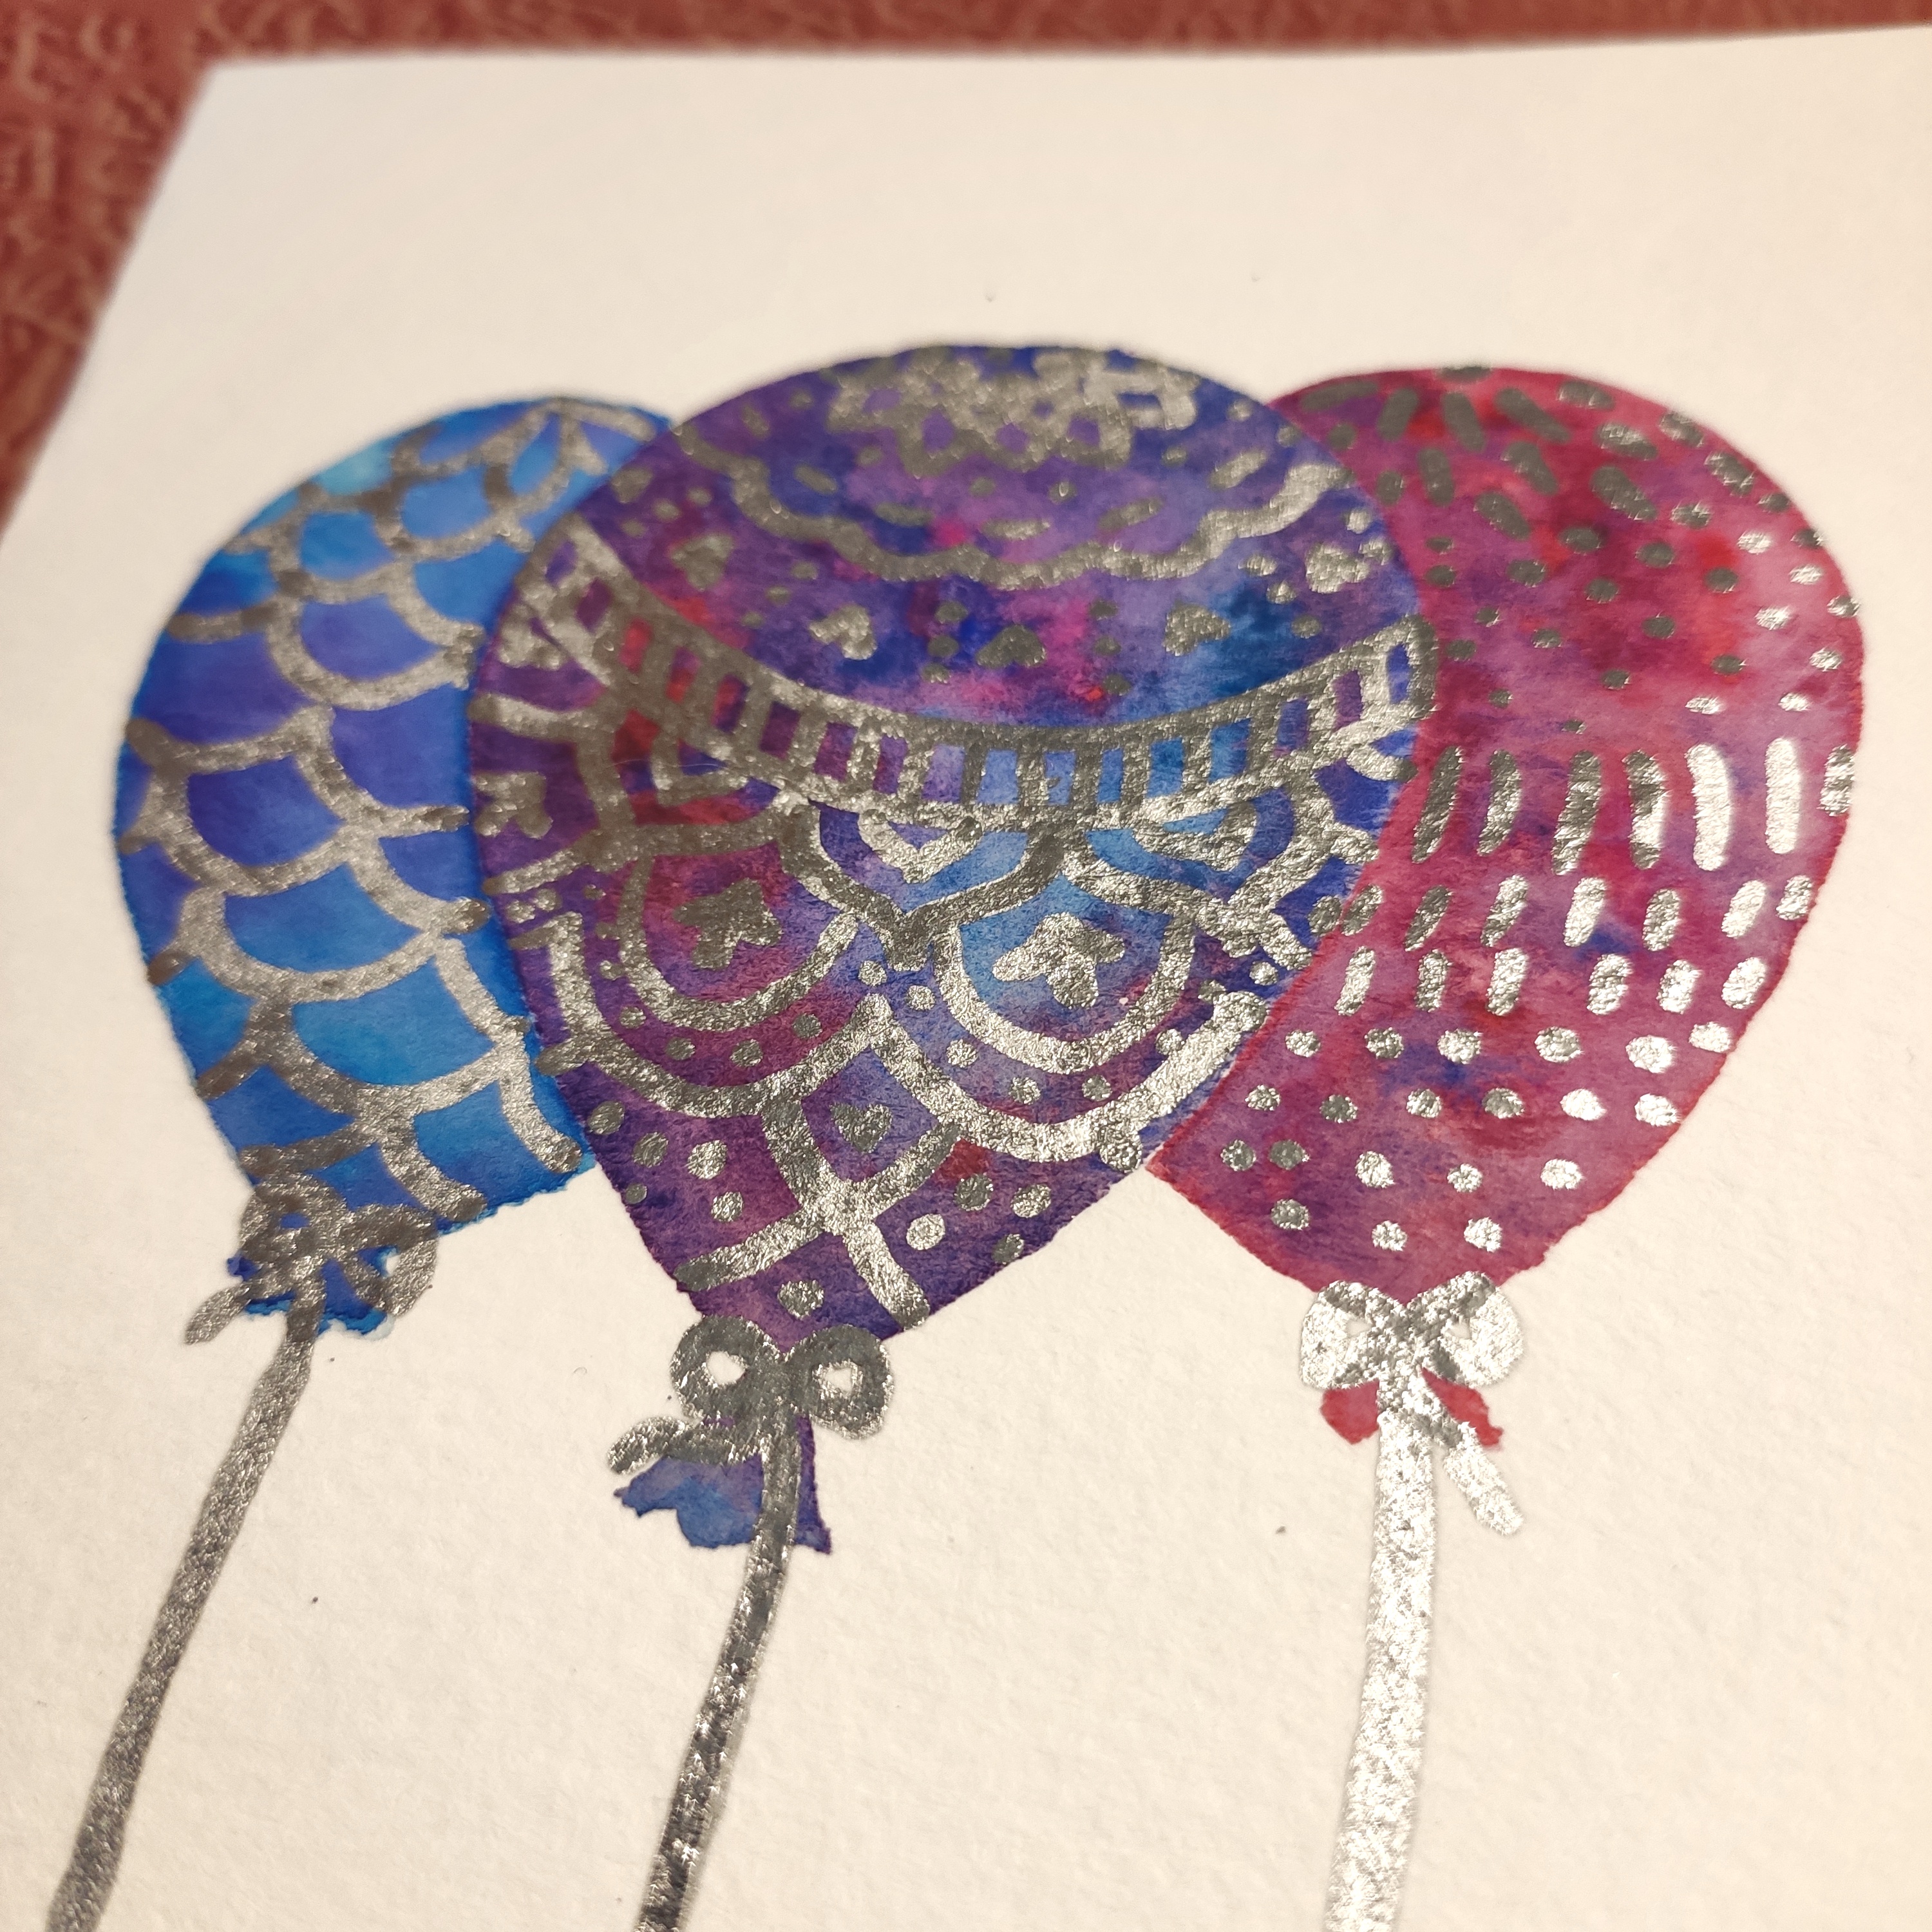
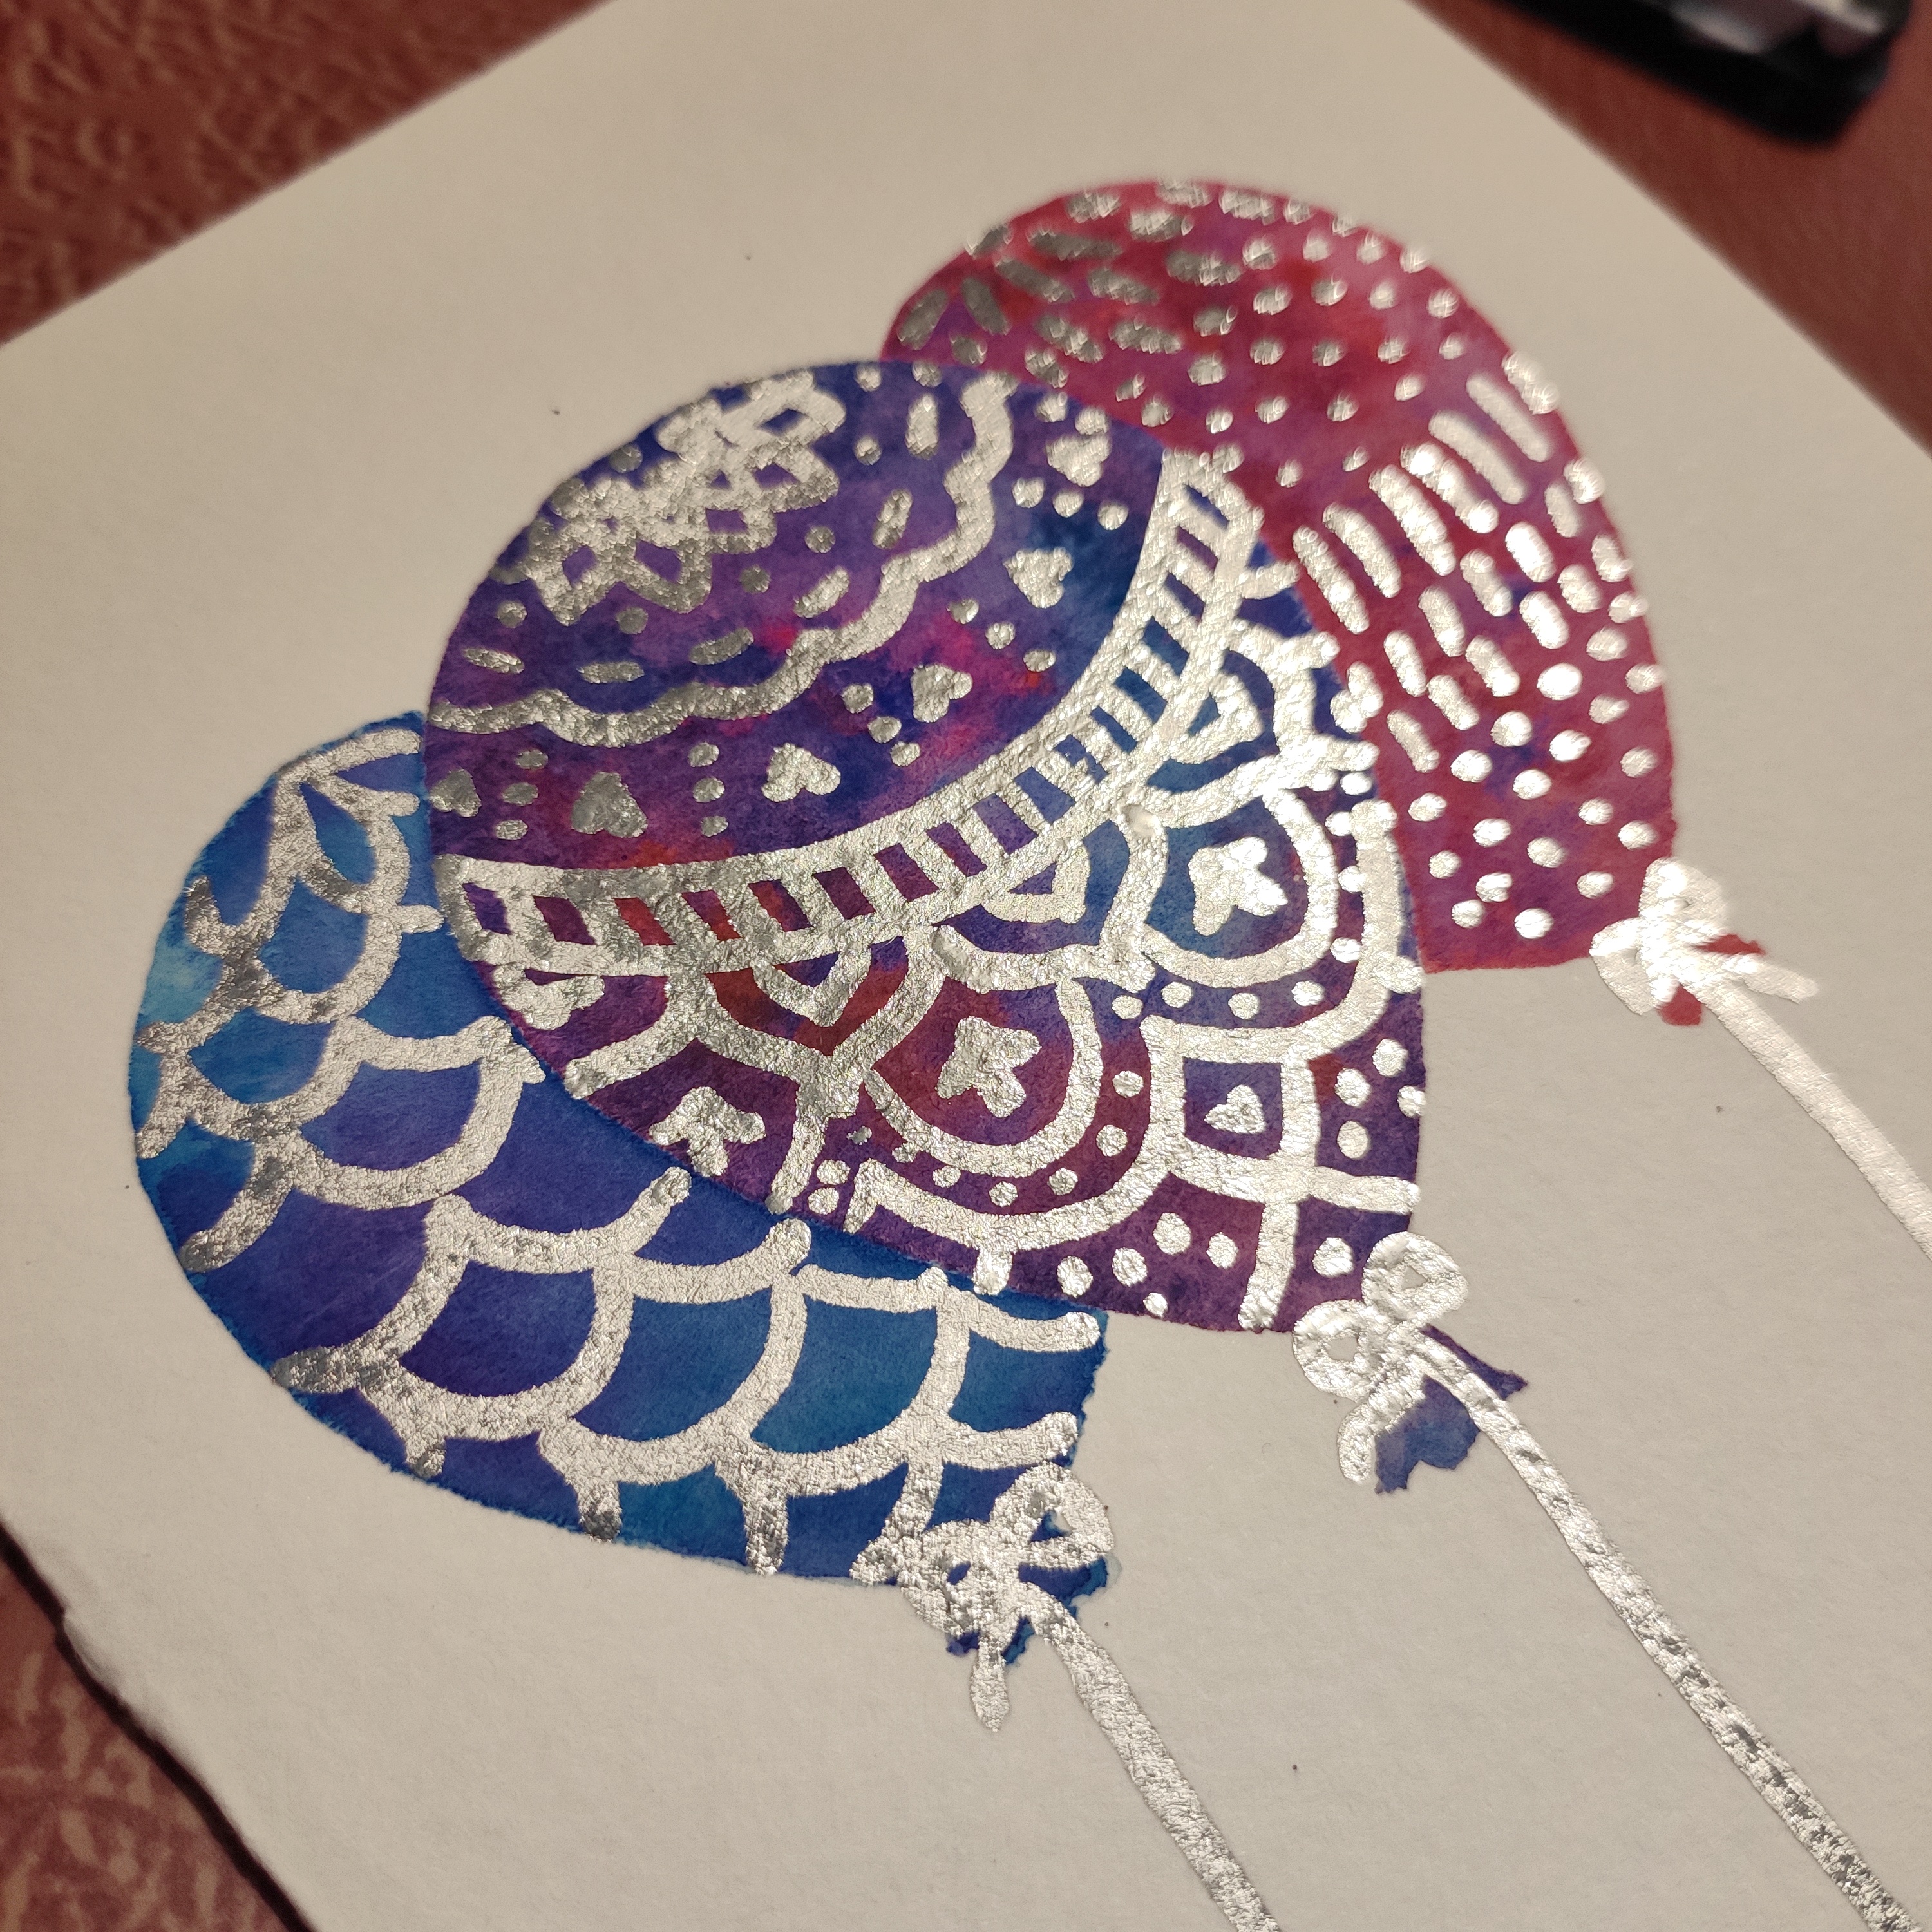
On the day of her birthday we had quite a while between waking up and leaving for her house, so I decided to also make her a birthday card to pass the time. I wasn’t sure if I’d have the energy and I knew she would understand if I didn’t, but I felt good that day and had a fun idea for the cover art.
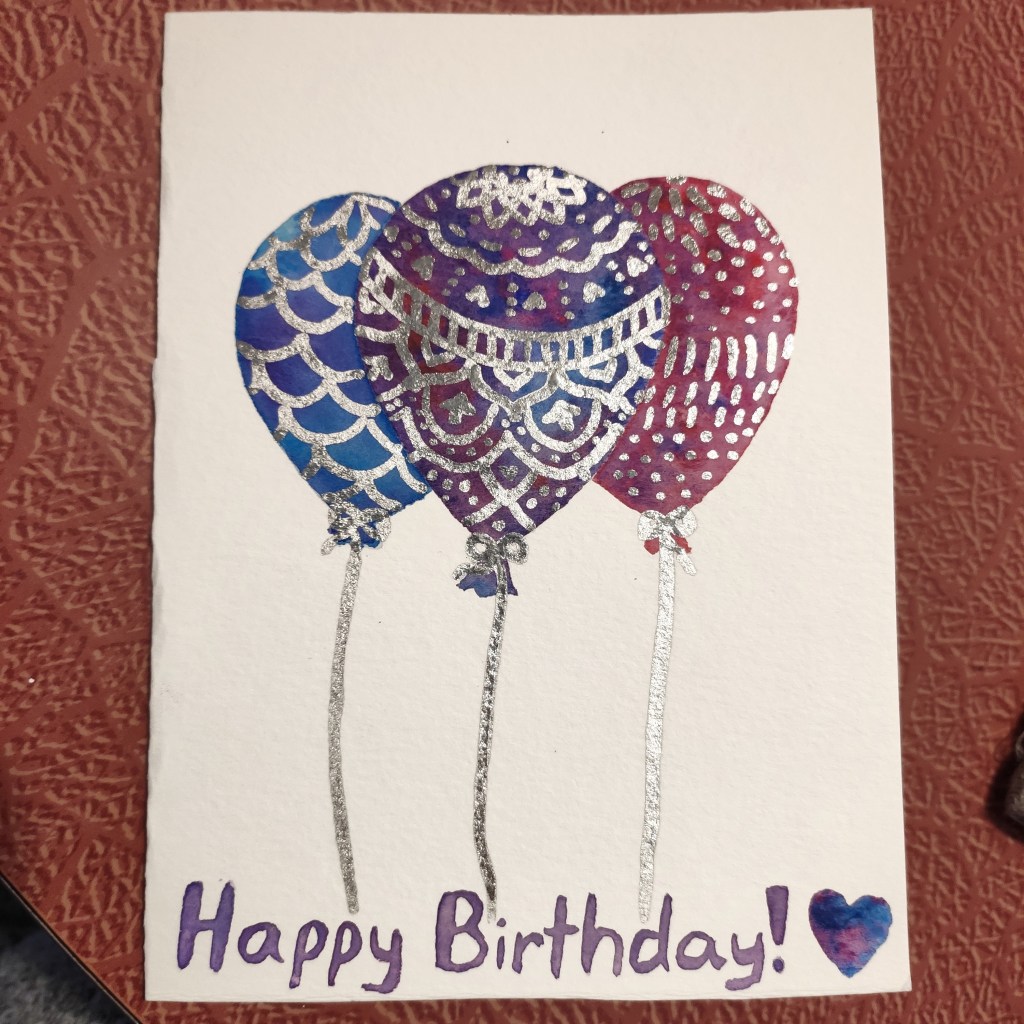
I used the wet on wet watercolor technique to make the balloons have a tie dye effect. I started with just the middle balloon, and let that dry fully before moving onto the background balloons, so that they could all be different and not bleed into each other.
Once all of the water had dried, I added the chrome details. I knew I could have left the balloons with just the tie dye effect, but I enjoyed doodling on them. I’m really happy about how it turned out, it’s very much a birthday card! Simple but effective.
Both of these pieces were very satisfying to make. Very sensory pleasing experiences.
I’m glad that when I’m presented with a reason to make art, I’m generally able to make myself do it. A lot of the time I can’t get myself to create on a daily basis like I would like to in theory, but when I have some outside motivation I muster up the courage and creativity necessary to get the job done.
I’m proud of myself, and my mom loved her present. Nothing makes me happier than giving my art as a gift to a loved one and having them be over the moon about it. I’m so glad to have had this opportunity!
Quick side note: Our daughter’s due date quickly approaches. Most likely she will arrive in 3 to 4 weeks, but it could be any day now. So do expect a long period of silence on this blog while I adjust to our new life, though I’m sure by now you all are used to that haha. I hope to return sooner than even I expect though, hopefully with new art to show off to you all! So until then, I wish you all the best!